
London at Dusk: Best Blue Hour Locations for Photography
The best blue hour locations for photography in London include Tower Bridge, the Millennium Bridge, the South Bank, and the Canary Wharf business district. These spots provide the perfect balance of historical architecture and modern lighting, typically occurring 20 to 30 minutes after sunset when the sky transitions into a deep, saturated indigo.
The Magic of the Blue Hour
Blue hour photography in London relies on precise timing because the ambient light intensity must perfectly match the city’s artificial streetlights to create a balanced, cinematic color temperature. This transition typically lasts for approximately 25 minutes, requiring photographers to arrive at least 30 minutes before sunset to secure a stable position for long-exposure shots. During this window, the atmosphere in London becomes uniquely surreal as the high-contrast lighting hides urban grit and highlights architectural details.
In London, the architectural diversity—where Victorian stone meets contemporary glass—acts as a natural filter for this light. To achieve professional results, you must use a sturdy tripod to stabilize your camera, as shutter speeds often range from 2 to 10 seconds. Focus on letting the ambient light define the shadows while city lights provide the sparkling highlights that characterize a professional long-exposure shot.
Tower Bridge: The Cinematic Icon
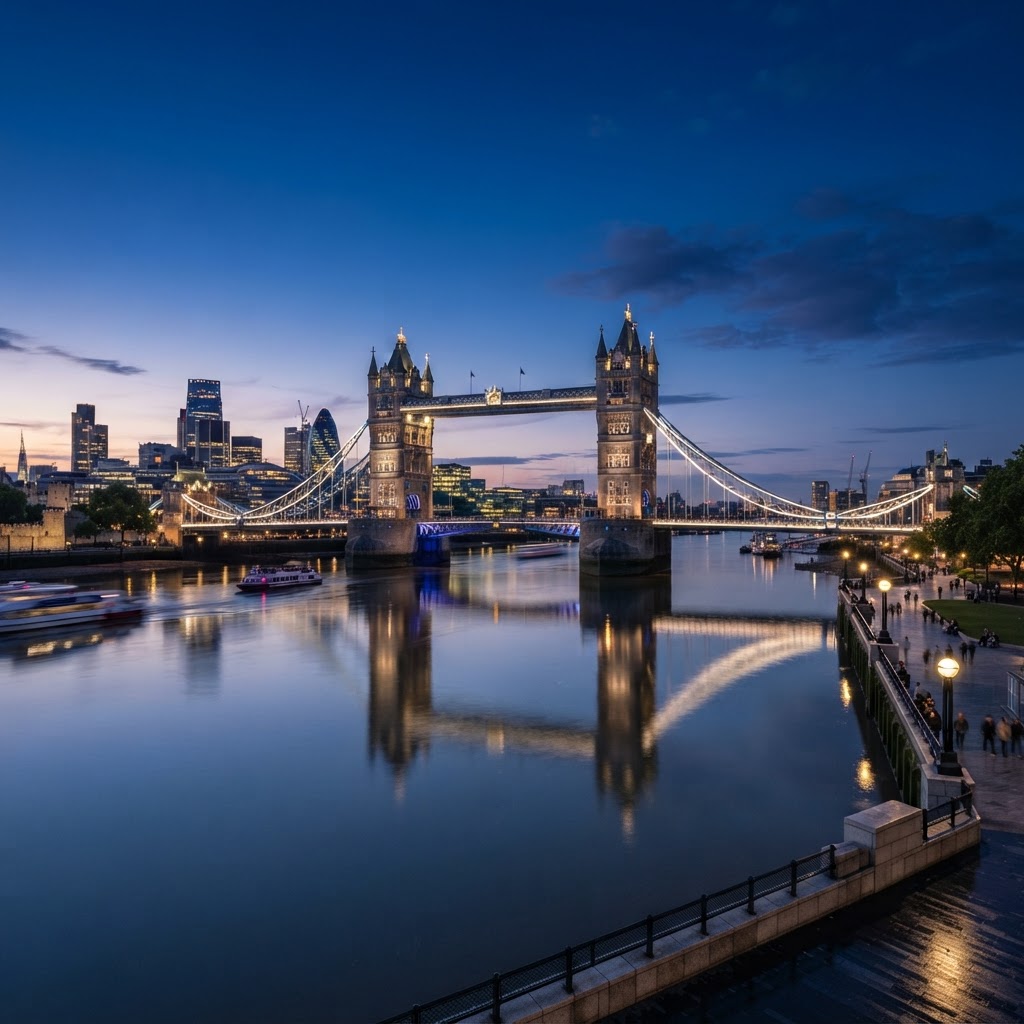
Tower Bridge is widely considered London’s most iconic dusk photography location due to its grand Victorian gothic architecture and its prominent position over the River Thames. The best vantage point is located on the south bank near Butler’s Wharf, which provides a clean sightline for framing the bridge against the water. Arriving early is essential, as the bridge’s lights typically activate shortly after the sun dips below the horizon, creating a high-contrast beacon against the deep blue sky.
Capturing the Reflection
When the water is calm, the reflection of the bridge lights creates a symmetrical composition that is incredibly rewarding. Use a low angle to bring the ripples of the water into the foreground, which adds a sense of depth and movement to your shot. This is a classic composition that has appeared in countless films set in the capital, making it a must-visit for any aspiring cinematographer or street photographer.
The Shard and South Bank Skyline
Capturing the Shard from the north bank near London Bridge offers the best perspective of modern London, as its glass facade acts as a giant mirror for the fading twilight. The building’s height, reaching 309.6 meters, dominates the skyline, and during the blue hour, its reflective surface captures the vibrant transition from orange to dark cobalt. This location provides a high-contrast narrative, placing 21st-century engineering directly against the backdrop of historic landmarks across the river.
Walking along the South Bank towards the Tate Modern further enhances this narrative by providing a continuous range of angles. As you pass the Golden Jubilee Bridges, you capture a wider, sweeping view that includes the London Eye and Big Ben in the distance. This area is ideal for capturing motion blur from river taxis or the passing crowds, which adds a sense of scale and life to your static, stoic architectural frames.
St. Paul’s Cathedral and Millennium Bridge
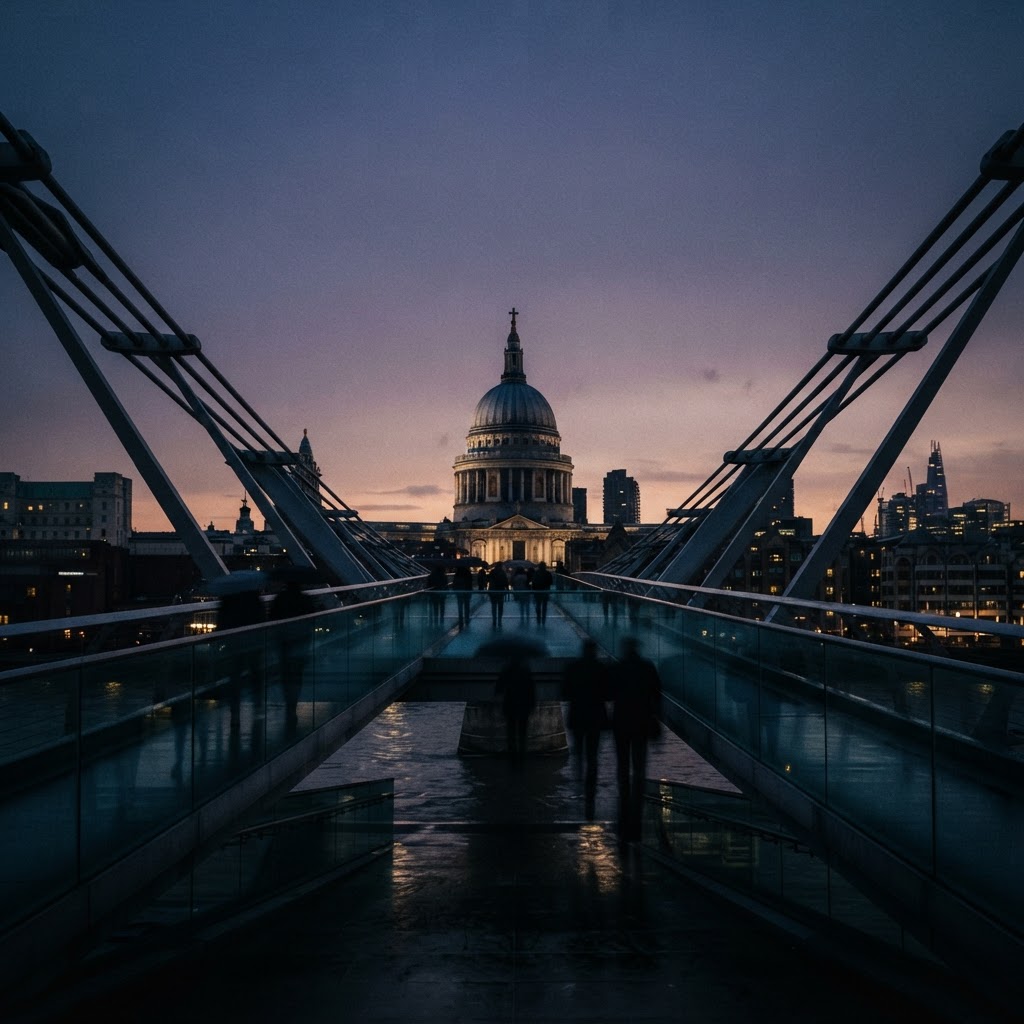
For a composition that exudes classic British elegance, head to the Millennium Bridge. Facing towards St. Paul’s Cathedral at blue hour, the dome of the cathedral glows warmly against the darkening sky. The sweeping lines of the steel suspension bridge act as a leading line, guiding the viewer’s eye directly toward the historic dome.
Techniques for Composition
Try to position yourself on the bridge before the last light vanishes to capture the transition of the sky colors from gold to deep cobalt. Because the bridge is a pedestrian-only zone, it is one of the safest and most comfortable places to set up a tripod. Remember to include some of the bridge’s steel structure in the frame to provide a modern, industrial frame for the historic cathedral.
Westminster and the Houses of Parliament
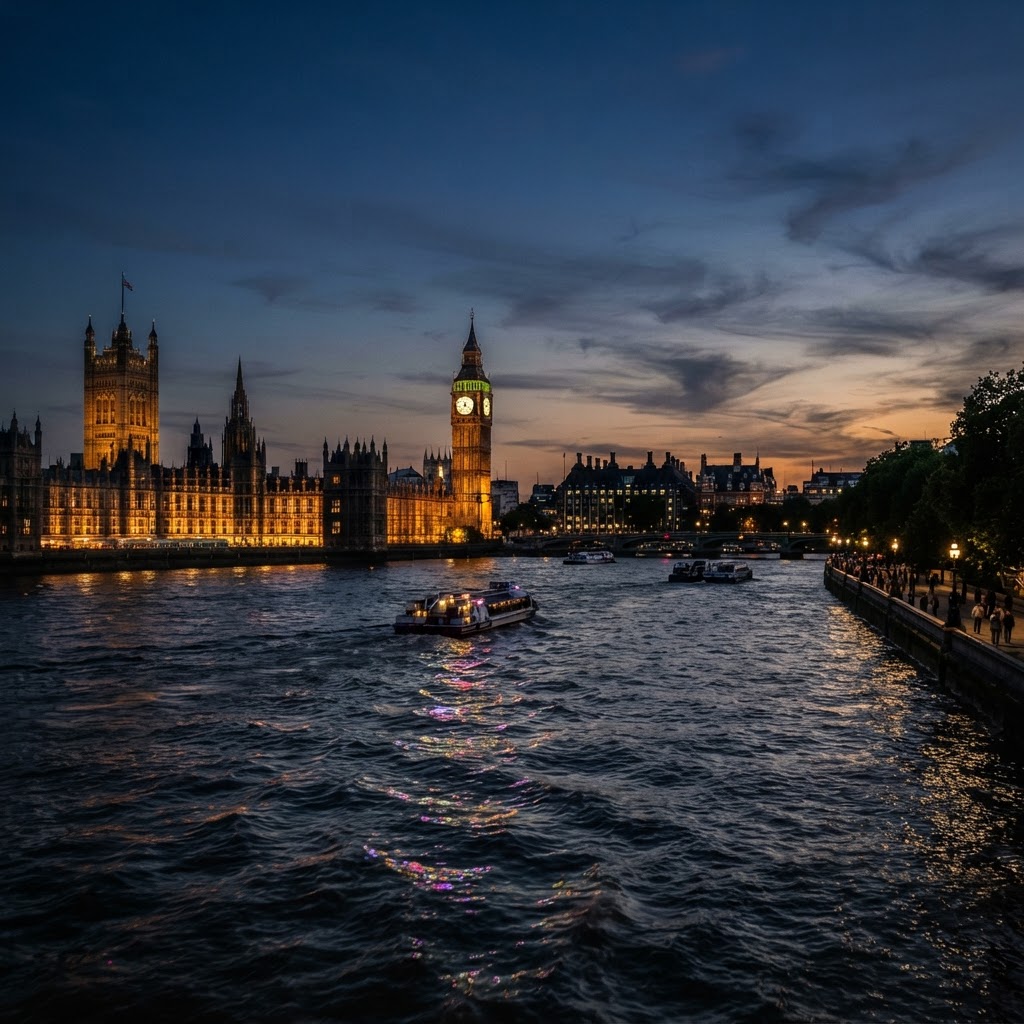
Westminster is perhaps the most famous filming location in London, and at dusk, it looks like a scene straight out of a blockbuster movie. The iconic silhouette of Elizabeth Tower, housing Big Ben, stands tall as the lights of the Parliament building reflect brilliantly on the dark water. The best way to capture this is from the opposite bank, specifically along Westminster Bridge.
To ensure perfect results at this location, verify that the Big Ben chimes are not interrupting your timing, as the heavy pedestrian traffic on the bridge can shake your tripod. The Parliament building’s stone facade is best lit during the peak of blue hour, about 20 minutes after sunset, when the surrounding lights fully illuminate the intricate Gothic Revival details of the building without blowing out the highlights.
Canary Wharf: The Urban Jungle
For those who love the cold, metallic aesthetic of sci-fi cinema, Canary Wharf is the place to be. The dense cluster of skyscrapers provides a futuristic backdrop that looks spectacular when the office lights are still on during the late afternoon blue hour. The reflections of the high-rise towers in the calm waters of the docks offer a unique, moody atmosphere that differs significantly from the historic sites in Central London.
Finding the Right Angle
Explore the area around Crossrail Place or the Cabot Square fountain. The artificial lighting in this business district is curated to look sharp and imposing, which lends itself well to high-contrast black and white photography or deep-toned color grades. It is a fantastic location for those looking to tell a story of a fast-paced, modern metropolis.
Essential Gear for Twilight Shoots
To ensure your photos look like professional movie frames, you need the right kit. A sturdy tripod is non-negotiable, as you will be using shutter speeds that can range from two to ten seconds. If you don’t have a remote shutter release, use your camera’s self-timer function to prevent camera shake when you press the button.
[](https://www.youtube.com/watch?v=3Fzs06DIbWc)
FAQ
Q: What time does the blue hour start in London?
In London, the blue hour typically begins approximately 15 to 20 minutes after the official sunset time. The duration varies by season, lasting as little as 15 minutes in summer or up to 45 minutes in the depths of winter due to the angle of the sun.
Q: Do I need a permit to take tripod photos in London?
Most public areas, such as the South Bank or Westminster Bridge, do not require a photography permit for personal use. However, private property like some areas in Canary Wharf or inside shopping districts may enforce strict “no tripod” rules for security reasons.
Q: What is the best camera setting for blue hour?
For the best results, use an aperture between f/8 and f/11 to maintain sharp details across the entire frame. Keep your ISO as low as possible, typically 100, and use a long shutter speed to capture the light trails and reflections that define the blue hour aesthetic.
Q: Is it safe to carry expensive gear at night in London?
London is generally safe for photographers, but you should always remain vigilant in high-traffic tourist areas. Keep your camera bag zipped, stay in well-lit areas, and never leave your tripod or gear unattended while adjusting your settings, especially near the riverbank.
Q: Should I use a filter for city night shots?
Using a circular polarizer can help manage unwanted glare on glass buildings or reflections on the water. However, avoid using neutral density (ND) filters unless you are shooting during the very beginning of the blue hour, as they will make your exposures unnecessarily long and difficult to manage.
Mastering the Logistics: A Photographer’s Walkthrough
Planning a blue hour shoot in London requires more than just a camera and a tripod. The city is massive, and traffic can ruin your timing if you try to hop between locations during the prime window. Focus your energy on one specific river stretch rather than attempting to cross town.
The South Bank Strategy
Start your session at Westminster Bridge two hours before sunset. Work your way east toward Tower Bridge along the pedestrian-heavy South Bank. This route allows you to capture the Houses of Parliament, the London Eye, and St. Paul’s Cathedral without needing public transport. You will have constant access to water reflections and clear sightlines throughout the entire evening.
Managing the Crowds
The South Bank is incredibly busy, especially on weekends and summer evenings. Do not set your tripod up in the middle of the main walkway. Look for raised planters or recessed wall areas where you can keep your gear out of the foot traffic. Expect tourists to bump into your setup; stay vigilant and keep a hand on your camera strap at all times.
Common Pitfalls and How to Avoid Them
Many photographers return home with blurry images because they ignore the basics of vibration control. Even a slight breeze on the Millennium Bridge will cause significant shake during a ten-second exposure. Always turn off your image stabilization when your camera is mounted on a tripod. This prevents the lens elements from searching for movement where there is none, which often introduces internal blur.
Another frequent mistake is underexposing the deep shadows. While the indigo sky looks beautiful, digital sensors struggle with dark, muddy foregrounds. Bracket your shots so you have a secondary exposure focused on the details of the stone buildings. You can blend these layers later to ensure your final image shows texture in the shadows and brilliance in the highlights.
Essential Blue Hour Checklist
- Use a remote shutter release or the camera’s two-second self-timer to avoid vibration.
- Check the tide tables; low tide can expose ugly mudflats on the Thames instead of clean water.
- Pack a headlamp; you will need it to change settings or find lens caps in the dark.
- Wear comfortable shoes, as you will likely walk over five miles during a productive session.
- Carry an extra battery, as long exposures drain power faster than standard daylight shooting.
Frequently Asked Questions
When is the best time of year for London blue hour photography?
Autumn and winter are superior. In the summer, sunset happens very late, and the blue hour window is often unpredictable due to cloud cover. During the winter, the sun sets earlier, meaning you can finish your shoot at a reasonable hour and catch the city lights at their most intense contrast against the dark sky.
Do I need a permit to shoot with a tripod in London?
In most public areas like the South Bank or London Bridge, you do not need a permit. However, private land, such as More London near the Shard, often has security teams who will stop you from using a tripod. If you are asked to move, be polite and comply immediately. There are plenty of public spaces nearby that offer equally stunning views without the hassle.
What focal length works best for these cityscapes?
A wide-angle lens in the 16mm to 35mm range is essential for capturing the scale of the river and bridges. If you want to focus on architectural details like the clock face of Big Ben or the intricate ironwork on Tower Bridge, bring a telephoto lens around 70mm to 200mm. Most professionals carry both to capture both the wide context and the tight, dramatic detail shots.
Leave a Reply