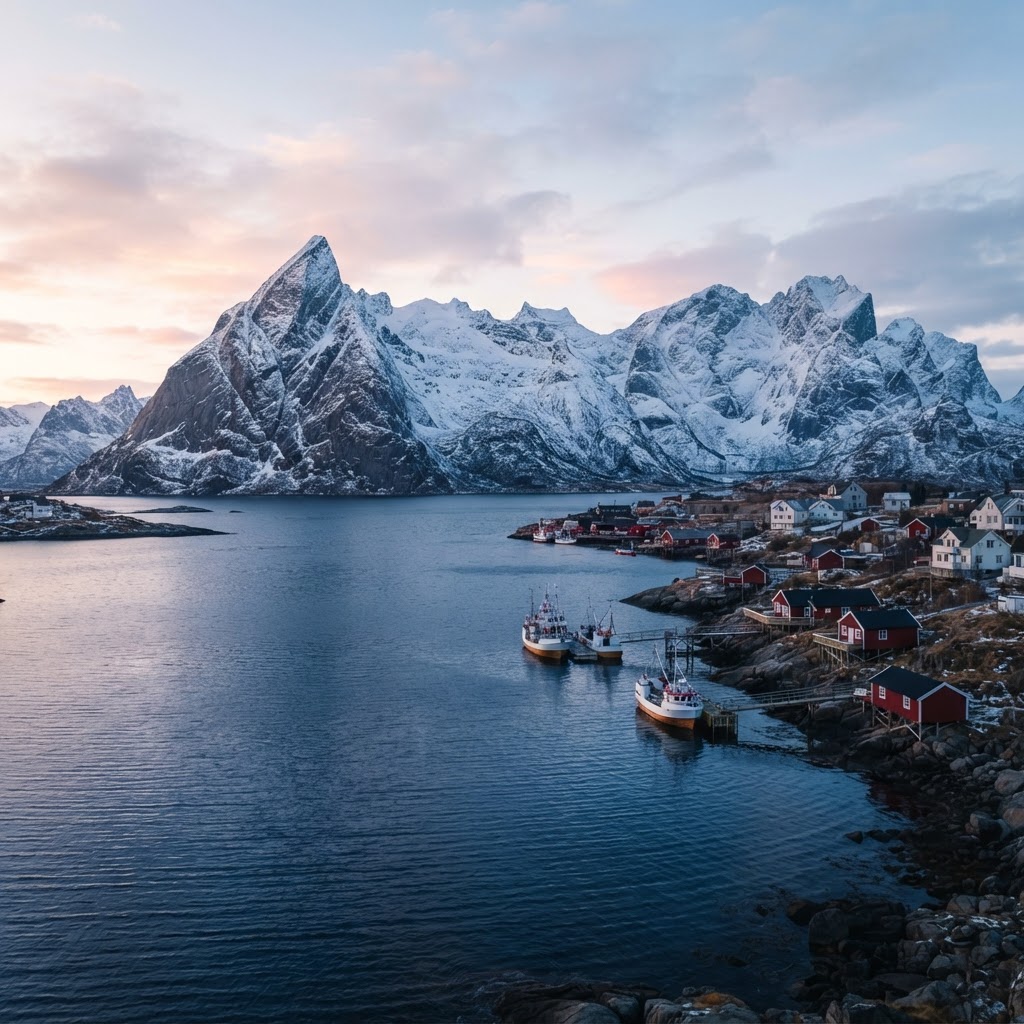
Lofoten in Soft Morning Light: Pro Photography Guide
To capture Lofoten in soft morning light, prioritize shooting during the extended golden hour between February and April, position yourself at east-facing locations like Uttakleiv Beach, and utilize a high-quality circular polarizer with a graduated ND filter. Precise histogram monitoring and RAW bracketing are essential for managing high-contrast Arctic landscapes.
The Magic of the Arctic Dawn
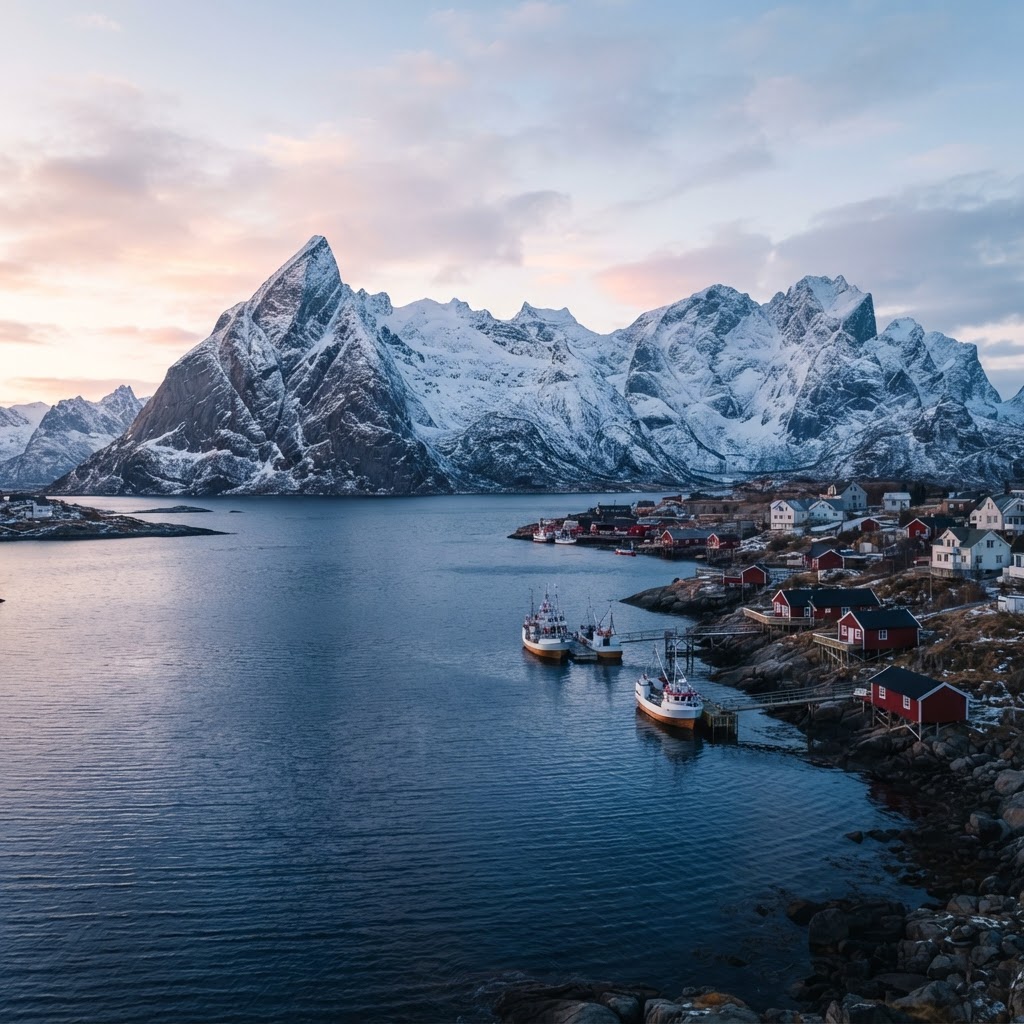
The Arctic light is fundamentally different from what you experience in lower latitudes due to the sun’s low-angle trajectory. Because the sun stays just above the horizon for extended periods, the “golden hour” in Lofoten can last for over three hours during the shoulder seasons, providing ample time for composition. When planning your shoot for Lofoten in soft morning light, you must account for the dramatic shifts in color temperature. The interaction between the snow-capped mountains and the deep blue fjords creates high-contrast scenes that demand precise exposure control. At these latitudes, the blue hour often transitions into a soft, diffused golden light that highlights the intricate textures of the granite peaks. Professional photographers optimize this light by scouting locations where the low sun hits the mountain ridges before the valley floors, allowing for a natural, directional side-light that emphasizes depth. Understanding this light behavior is the primary differentiator between snapshot-style photography and professional Arctic landscape work.
| Season | Golden Hour Duration | Best Light Quality |
|---|---|---|
| Winter (Dec-Jan) | 4-5 Hours | Soft, Blue, Ethereal |
| Spring (Feb-Apr) | 3-4 Hours | Dramatic, Golden, Crisp |
| Summer (Jun-Aug) | 24 Hours | Harsh, Flat, Midday |
Essential Gear for Arctic Conditions
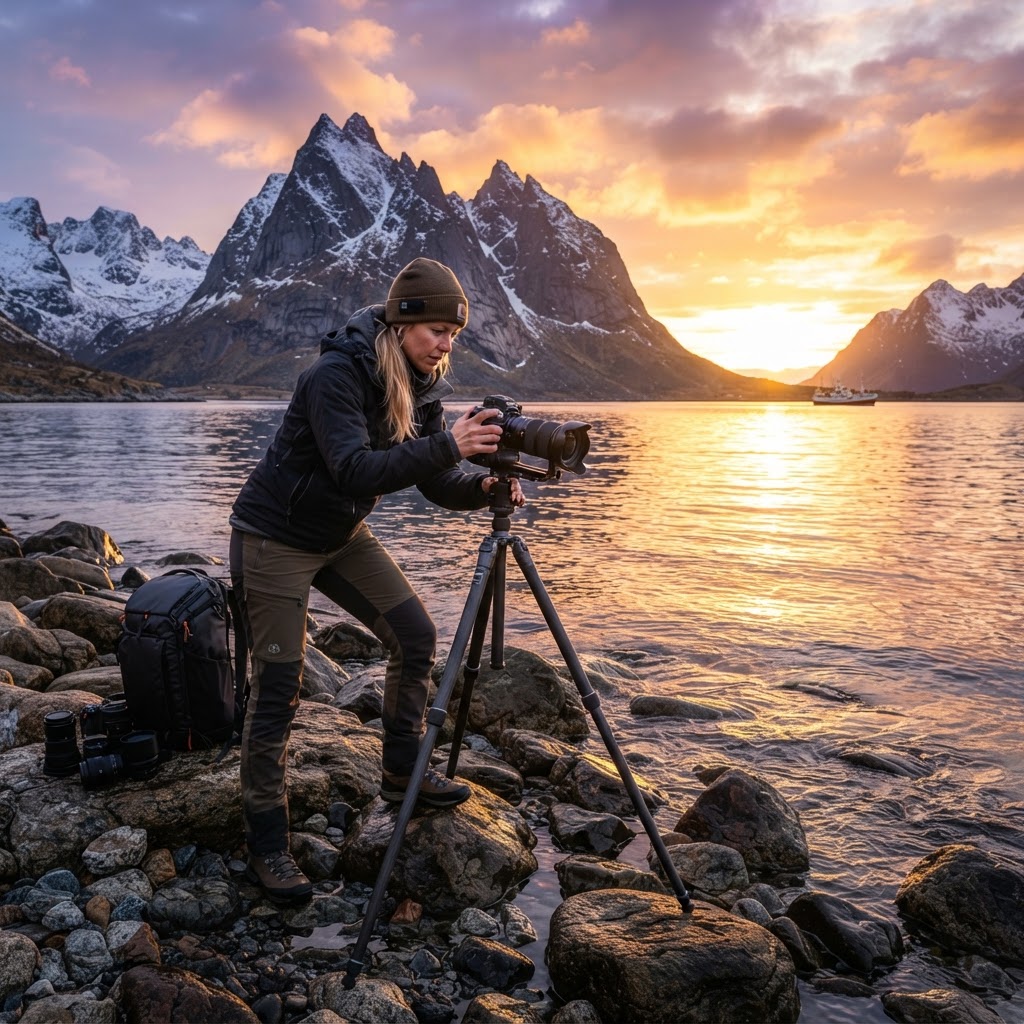
When you are out in the field at 4:00 AM, managing equipment in sub-zero temperatures is your most critical operational challenge. Beyond the standard camera body and lenses, you need a robust, carbon-fiber tripod that can withstand wind gusts often exceeding 50km/h along the exposed coastline. A high-quality circular polarizer is vital to manage the glare reflecting off the icy water surfaces, while a 3-stop graduated neutral density filter will help you balance the bright sky with the dark, craggy foregrounds that define the Lofoten aesthetic. Modern mirrorless cameras often suffer from battery drain; keep at least three spare batteries inside a chest-level inner pocket to maintain internal heat. Furthermore, ensure you have a dedicated lens cloth kit, as sea salt spray crystallizes on glass elements rapidly in the cold, causing ghosting in your frames. Professional setups typically prioritize weather-sealed bodies (IP54 rated or higher) to prevent internal condensation when transitioning from frigid exterior temperatures to heated vehicle interiors.
Recommended Camera Bag Setup
- Wide-angle lens (16-35mm) for expansive vistas.
- Telephoto lens (70-200mm) to compress the mountain peaks.
- Extra batteries kept inside your jacket to maintain charge.
- Microfiber cloths for constant lens cleaning due to sea spray.
Scouting the Best Sunrise Locations
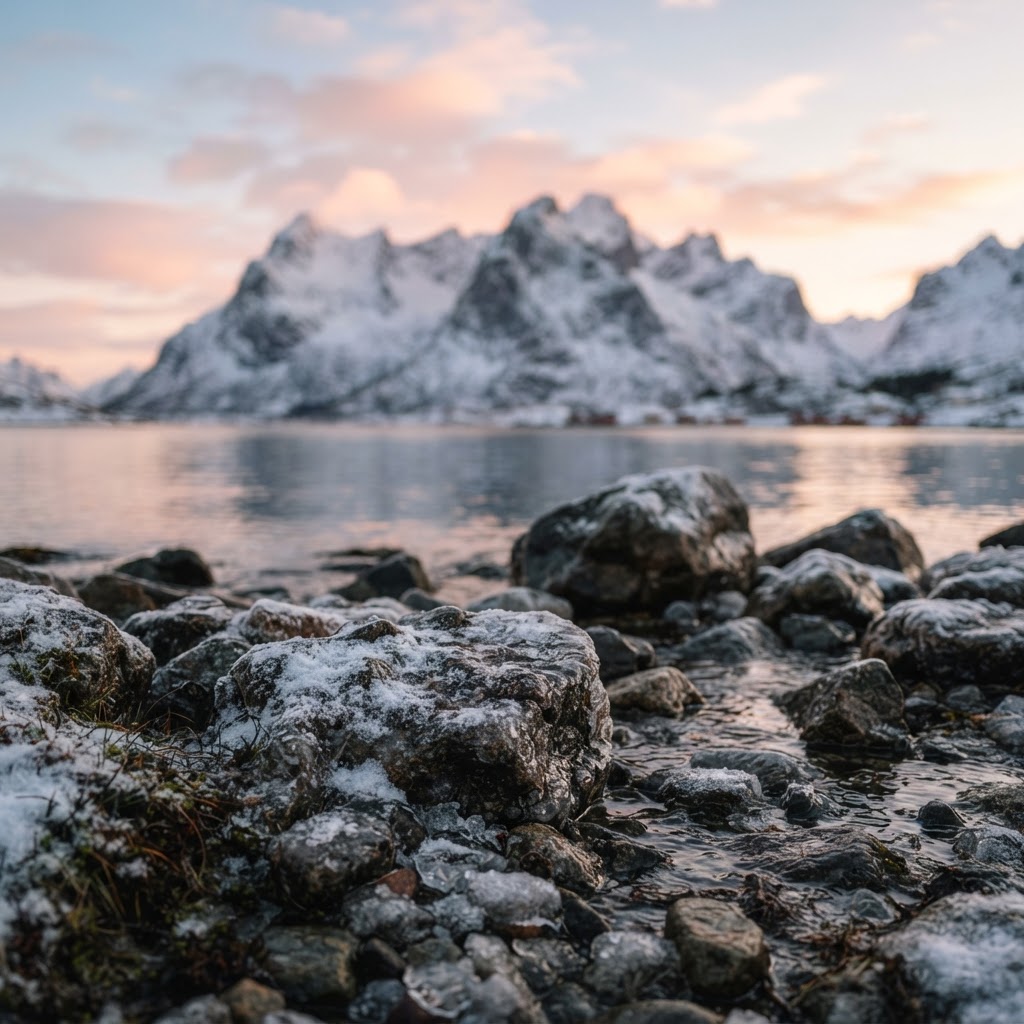
The archipelago is dense with iconic spots, but catching the right sun angle relative to the mountain peaks is crucial for morning compositions. While Reine and Hamnøy are famous, the lighting conditions shift drastically based on the calendar date. For the best morning results, prioritize eastern-facing sites like Uttakleiv, Haukland, or the inner fjords of Flakstad. These locations provide a wide-open eastern horizon where the sun hits the water before it illuminates the surrounding walls of rock, creating a stunning depth of field and high-dynamic-range lighting. Pro-tip: Utilize “PhotoPills” or “The Photographer’s Ephemeris” to map the sun’s azimuth at exactly 5:00 AM local time, as the high peaks in Lofoten often create artificial shadows that can block the first light of dawn. By arriving 60 minutes before civil twilight, you ensure a buffer for setting up equipment in total darkness, allowing you to capture the pre-dawn “blue light” phase which is often more serene than the direct sunrise.
Technical Settings and Exposure Mastery
To effectively shoot Lofoten in soft morning light, you must master your histogram to prevent data loss in the high-contrast highlights. Shooting in compressed formats is non-negotiable; you must use 14-bit or 16-bit RAW files to retain maximum dynamic range. Aim to “expose to the right” (ETTR) without clipping your highlights, and consistently utilize a 3-stop exposure bracket to ensure you have enough data in the shadows to recover details during post-processing. Use an aperture between f/8 and f/11 to ensure foreground-to-background sharpness, as diffraction typically begins to soften images beyond f/13 on modern high-resolution sensors. Shutter speeds should remain fast enough to account for wind-induced vibration; even on a tripod, gusts can introduce micro-blur during long exposures. If you are shooting water movement, verify your focus point is locked on a static rock in the mid-ground, as auto-focus can struggle in the dim, low-contrast conditions of pre-dawn.
Weather Planning and Safety
Local weather in Lofoten changes within minutes due to the convergence of the Gulf Stream and Arctic air masses. A clear morning can transition into a localized blizzard or a heavy downpour without warning, making professional-grade weather tracking mandatory for field safety. Utilize apps like Yr.no, which provides hyper-local forecasts specifically for Arctic Norway, and monitor “wind gust” metrics specifically rather than just average wind speed. Always dress in a three-layer system: a merino wool base layer to wick moisture, a synthetic mid-layer for insulation, and a GORE-TEX (or equivalent) windproof, waterproof shell. When standing still at a photography location for two hours, your body temperature will drop significantly faster than while hiking; bring heat packs and a thermos to maintain core temperature. If the local authorities issue a “Gale Warning,” prioritize your equipment and personal safety by seeking shelter, as the coastal winds can easily topple a tripod into the ocean.
Post-Processing Techniques
Once you have your RAW files, the goal is to enhance the ethereal quality of the Arctic light while maintaining color accuracy. Focus on targeted local adjustments to bring out the subtle textures in the granite cliffs, using luminosity masks to protect highlights from becoming muddy. Be careful with your global white balance; the snow often reflects the blue of the sky, which can lead to color casts. Adding a subtle touch of warmth (+300 to +500 Kelvin) back into the highlights can help create that iconic ‘Nordic glow’ while keeping the shadows cool and moody. Avoid excessive saturation in the blue channels, as this can make the fjord water look unnatural; instead, focus on contrast adjustments within the blue-to-teal spectrum. Using a ‘dehaze’ tool sparingly can also cut through the residual sea mist that is common in early morning shoots, revealing the crisp, sharp edges of the Arctic mountains.
FAQ
What is the best time of year for soft light in Lofoten?
The best time for soft, prolonged golden light in Lofoten is between February and April. During these months, the sun remains at a low, flattering angle for several hours, providing ideal conditions for landscape photography.
Do I need a circular polarizer in Lofoten?
Yes, a circular polarizer is essential for cutting glare from wet rocks and ice surfaces. It helps saturate colors and increases contrast in the fjord water, which is crucial when shooting in the low-angled morning sun.
What aperture is best for Lofoten landscapes?
An aperture between f/8 and f/11 is recommended for Lofoten landscapes to achieve deep focus from the foreground to the mountain peaks. This range keeps the image sharp while avoiding the diffraction issues common at higher f-stops.
How do I manage batteries in cold weather?
Keep your spare batteries in an inner jacket pocket close to your body heat. Lithium-ion batteries lose efficiency rapidly in sub-zero temperatures, so keeping them warm significantly extends their performance during early morning shoots.
Is shooting in RAW required?
Yes, shooting in RAW is mandatory to capture the high dynamic range found in Arctic scenes. It allows you to recover shadow detail and manage extreme highlight contrast during post-processing that JPEG files cannot handle.
Leave a Reply