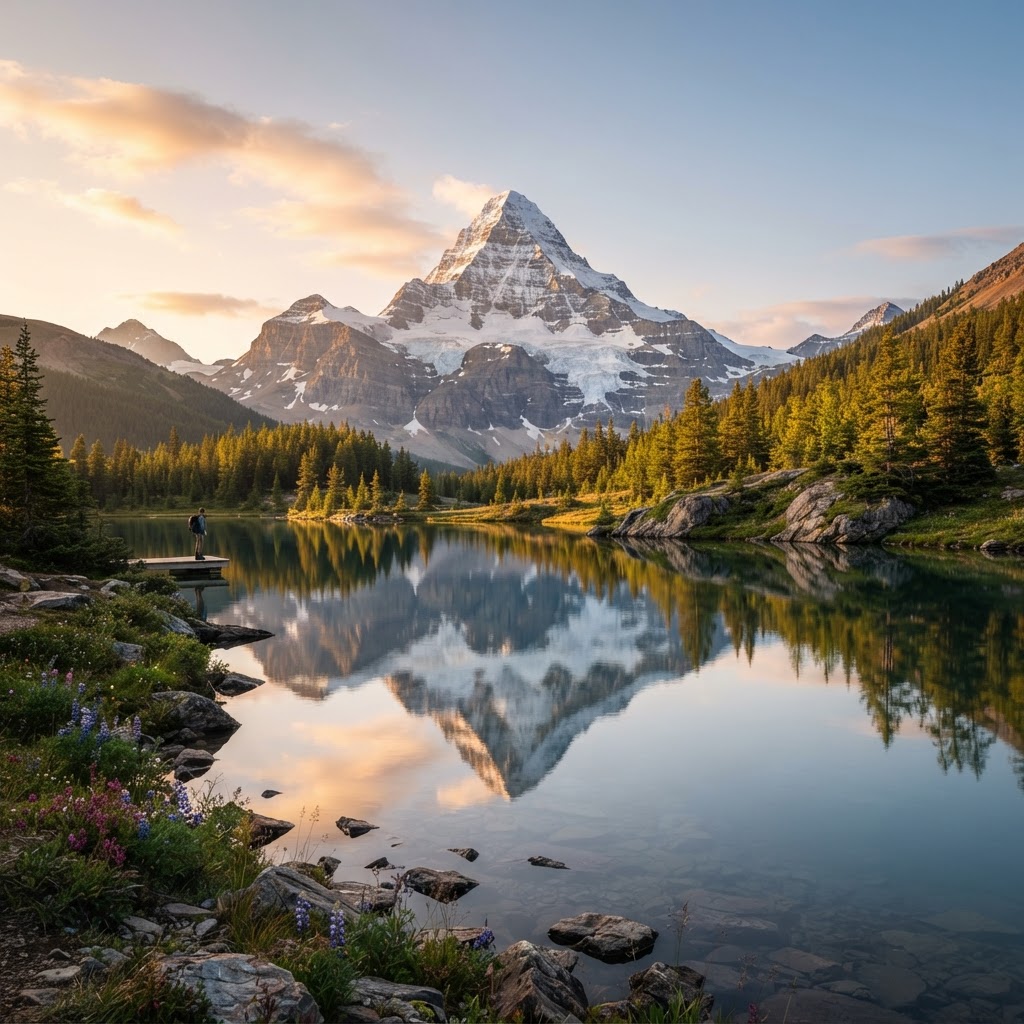
Mountain Reflections in Still Water: A Guide to Photography
To capture perfect mountain reflections in still water, photograph during the ‘golden hour’ within one hour of sunrise or sunset when wind speeds are below 5 mph. Ensure the water surface is undisturbed to create a mirror-like effect, and use a sturdy tripod to stabilize your camera for long-exposure shots in low light.
Understanding the Science of Reflections
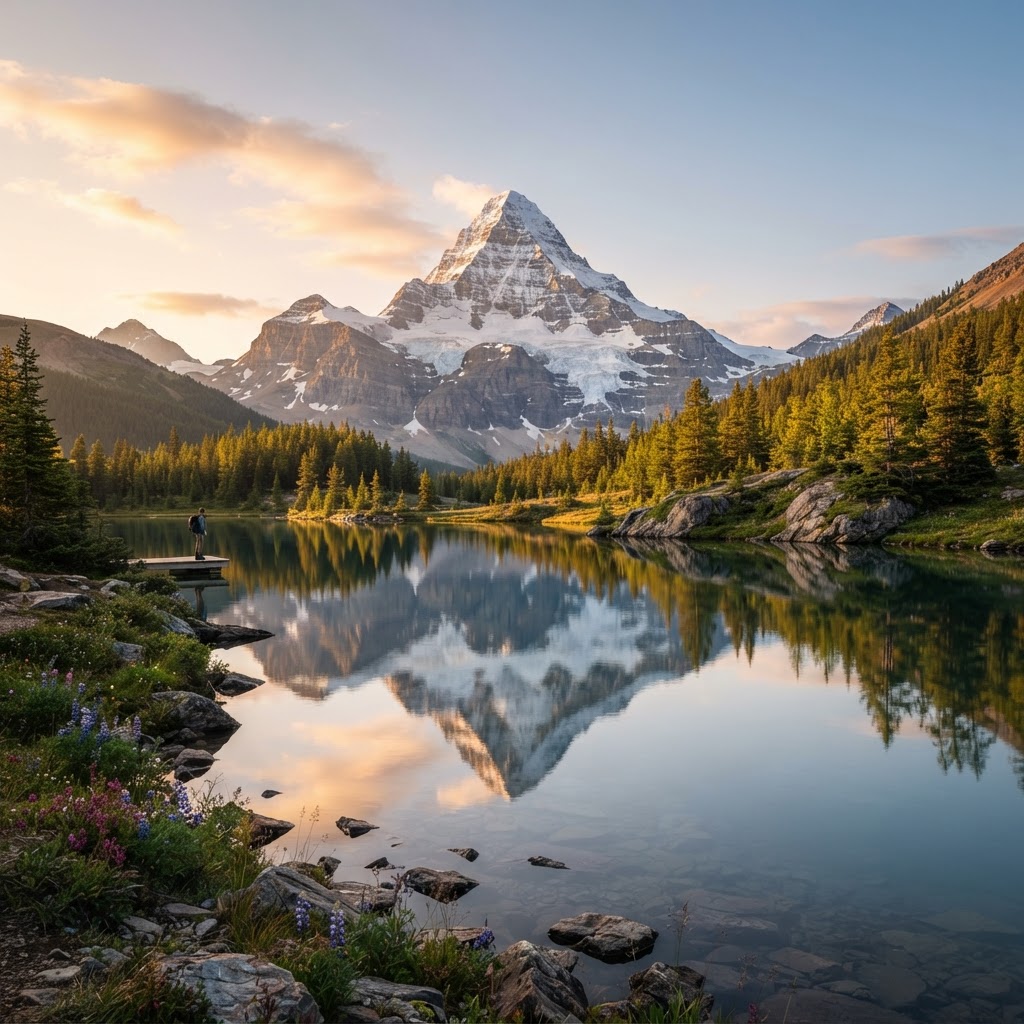
The phenomenon of a mountain reflection relies on the physics of light hitting a smooth, reflective surface. When water is perfectly still, it acts as a specular reflector, bouncing the light from the sky and the mountains back toward your sensor with minimal scattering. For a reflection to appear crisp and clear, the water must be free from surface tension disturbances such as wind gusts, currents, or precipitation. Scientists define this as a state of laminar flow, where the water surface remains flat enough to maintain the incident angle of light, effectively creating a mirror image of the landscape above. Because even a slight breeze creating ripples (which act as tiny prisms) can shatter the image into a mosaic of distorted colors, landscape photographers must prioritize scouting locations that are naturally sheltered from prevailing winds. Geographic features such as deep mountain tarns, alpine coves, or leeward sides of large lakes are optimal locations. By waiting for atmospheric stability, you maximize the coherence of the reflected light, resulting in a high-fidelity image that rivals the clarity of the physical subject itself.
| Feature | Best Conditions | Worst Conditions |
|---|---|---|
| Wind Speed | Under 5 mph | Over 10 mph |
| Time of Day | Golden Hour | Midday (12 PM – 3 PM) |
| Water State | Glass-like/Still | Choppy/Wind-blown |
| Sky Condition | Clear or Partial Clouds | Overcast/Heavy Rain |
Timing Your Shoot for Success
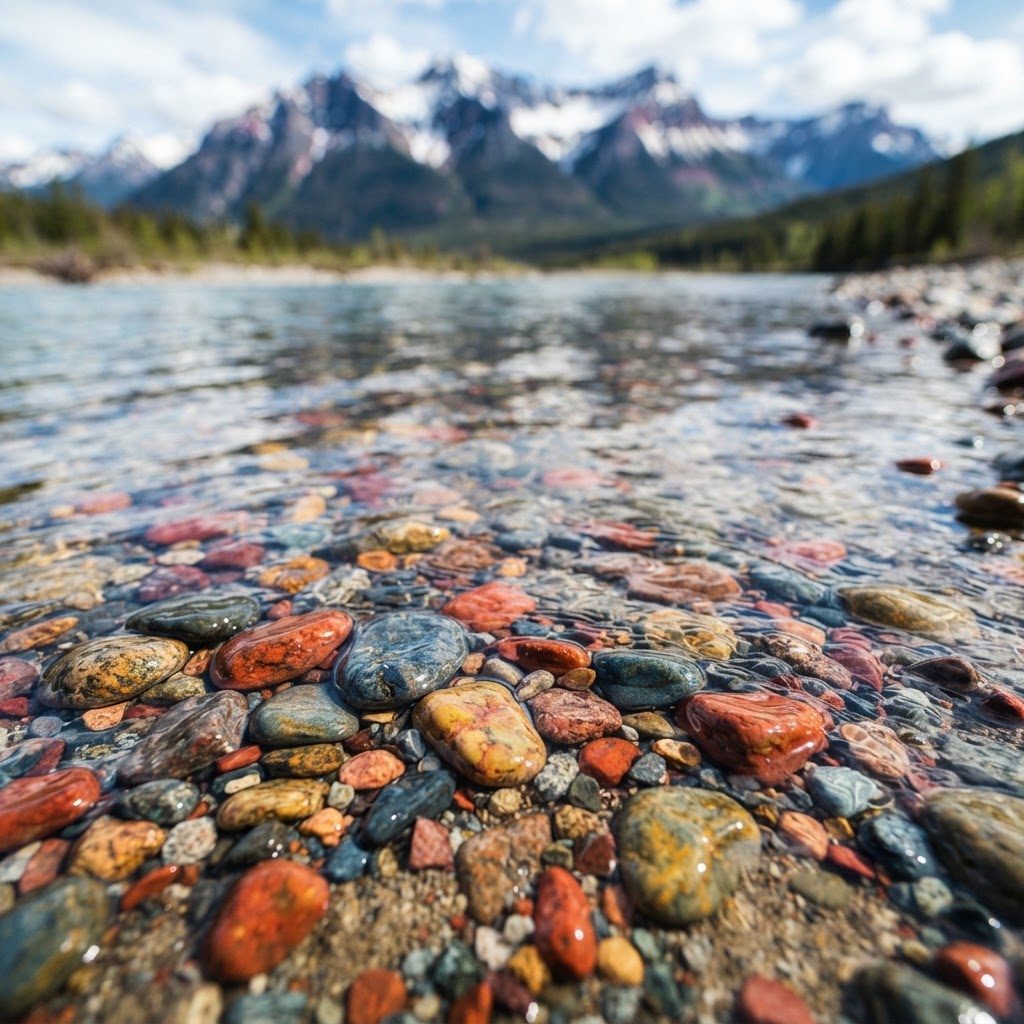
Lighting is the most significant factor in how your reflection will appear on your sensor, with the best results occurring during the early morning golden hour. You are managing two light sources: the primary illumination hitting the mountain peaks and the secondary, diffused light bouncing off the water. If the sun is higher than 30 degrees above the horizon, harsh contrast causes excessive glare on the water’s surface, which obscures the delicate details of the reflection. During the golden hour—occurring roughly 60 minutes after sunrise and 60 minutes before sunset—the sun’s rays travel through more of the Earth’s atmosphere, scattering blue light and leaving warm, soft tones. This directional light enhances the three-dimensional texture of the mountain while ensuring the reflection retains high color saturation. Furthermore, the lower angle of the sun at these times helps to prevent highlights from clipping, allowing for a better dynamic range between the bright sky and the darker reflection in the water. Planning your arrival at least 45 minutes before the first light ensures you can set up your tripod and frame your composition while the ambient light is most favorable for mirror-like clarity.
Essential Gear for Landscape Perfection
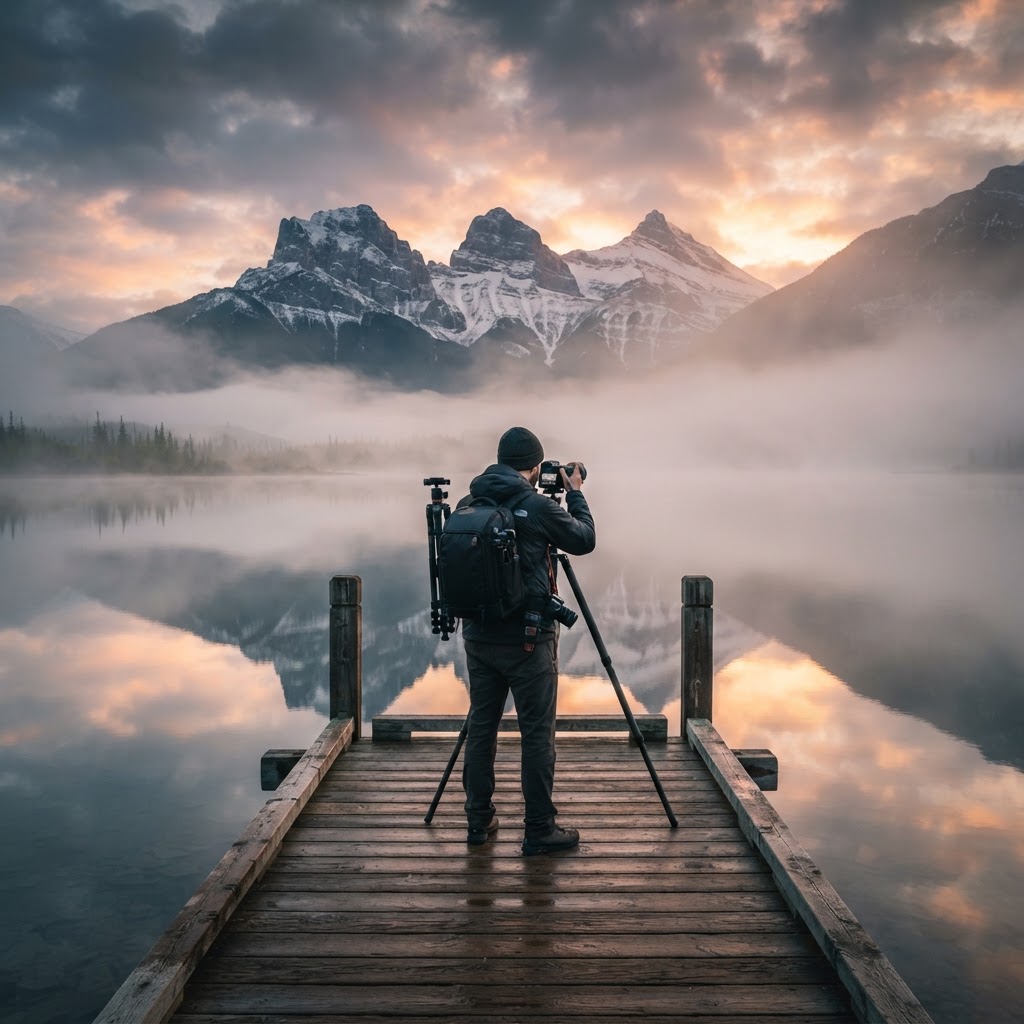
While you can technically capture an image with any camera, using specific professional gear is mandatory to achieve the sharp, high-contrast results required for professional-grade landscape photography. A sturdy, carbon-fiber tripod is the single most important tool because you must use smaller apertures, such as f/11 to f/16, to maximize your depth of field. These settings require longer shutter speeds, often ranging from 0.5 to 2 seconds, which makes even the slightest camera shake detrimental to the final image. Additionally, a remote shutter release or a 2-second timer delay is essential to prevent vibration caused by pressing the physical shutter button. Beyond stability, consider a wide-angle lens (16mm to 35mm range) to capture the grand scale of the peaks alongside the reflection in the water. For extreme precision, use a high-quality microfiber cloth to keep your front element free of moisture, as alpine environments are notorious for lens-fogging condensation. When selecting a camera bag, ensure it is weather-sealed, as you will likely be standing near cold, damp lake edges during the early morning, and protecting your electronics from moisture ingress is critical for long-term equipment health.
Composition Techniques to Elevate Your Shots
 ](https://www.youtube.com/watch?v=FkduNHPfuGU)
Composition is where your technical preparation translates into artistic vision, and the most successful images utilize a balance of foreground interest and structural symmetry. The classic approach involves placing the horizon line in the dead center of the frame, which creates a perfect mirrored division that emphasizes the symmetry between the peak and the water. However, you should also experiment with the Rule of Thirds by placing the horizon on the lower or upper third line if the sky or foreground is particularly compelling. Include a “hook” in the foreground—such as glacier-smoothed rocks, driftwood, or endemic alpine flora—to provide a sense of scale and depth. By getting your camera within 1-2 feet of the water surface, you create a “leading line” that guides the viewer’s eye from the sharp foreground detail directly into the mirrored peaks. This creates a visual journey that keeps the viewer engaged. Always try to align your tripod so the mountain peak and its base are perfectly perpendicular to your sensor plane; even a 1-degree tilt in your tripod head can make the mountain appear to ‘lean’ incorrectly in the reflection.
Post-Processing for Clarity
Even the best raw files often need subtle refinement in post-production to ensure the reflection truly matches the quality of the subject. Because the water surface is a reflection of the sky, the water in your RAW file often contains a blue cast that is cooler than the sunlight-bathed mountain. Use local adjustment tools in Adobe Lightroom or Capture One to perform a targeted white balance adjustment; increasing the temperature (warmth) specifically on the water reflection can help it match the tones of the mountains. Be careful to avoid over-saturating, as this leads to an unnatural look; instead, focus on adjusting the ‘Clarity’ and ‘Texture’ sliders specifically on the reflection to add micro-contrast without creating halos. If the water has minor ripples, using a ‘Dehaze’ slider set to a low value (between +5 and +10) can occasionally help to tighten the reflected image. Finally, always perform a check for sensor dust, which often goes unnoticed in the bright sky but becomes painfully obvious once reflected in the dark, still water of a lake.
Managing Environmental Challenges
Nature rarely cooperates exactly as we wish, but you can leverage environmental obstacles to create unique artistic interpretations. If you encounter heavy winds that make a mirror reflection impossible, switch your strategy to a long-exposure, abstract shot. By using a 6-stop or 10-stop neutral density (ND) filter, you can extend your shutter speed to 30 seconds or more, which turns the choppy surface into a silky, misty blur that highlights the colors of the mountains without requiring perfect stillness. This technique is excellent for creating a minimalist “fine art” look that stands out in a portfolio. For those dealing with murky water, focus on “partial reflections” where you capture only the brightest highlights or the top-most peaks, reducing the amount of dark water visible in the frame. Remember, some of the best images are captured when the conditions aren’t perfect; the key is to adapt your gear and composition to the environment you are given rather than fighting for a shot that is physically impossible in that moment.
Location Scouting and Planning
Finding the perfect lake requires deep research using satellite imagery and specialized weather monitoring tools. Use Google Earth’s 3D view to identify lakes that are shielded by high ridges, as these act as natural windbreaks and are statistically more likely to have still water. Use apps like ‘Windy’ or ‘Yr.no’ to check wind speed forecasts at high-altitude elevations; prioritize locations where predicted wind speeds are under 5 mph for the specific hour of sunrise. Planning your logistics is equally vital: verify sunset and sunrise times, ensure your camera batteries are fully charged, and consider bringing a backup power bank, as cold temperatures drain lithium-ion batteries up to 30% faster. Dress in layers and pack waterproof boots, as the best shooting spots are often muddy, rocky, or overgrown. If you are scouting a new area, always arrive the afternoon before your shoot to find a safe access point to the water’s edge, as navigating unfamiliar terrain in the pre-dawn darkness can be dangerous.
FAQ
Q: What is the best camera aperture for mountain reflections?
The best aperture for capturing mountain reflections is typically between f/8 and f/11. This range provides a deep depth of field, ensuring that both your foreground subjects and the distant mountain peaks remain tack-sharp throughout the entire composition while avoiding lens diffraction that occurs at higher f-stops.
Q: Why does my water reflection look blurry compared to the mountain?
A blurry reflection is usually caused by micro-ripples on the water surface or camera shake during a long exposure. Even a breeze of 2 mph can disrupt the water surface, so ensure you are using a sturdy tripod and a shutter release to keep the camera perfectly still.
Q: Should I use a polarizing filter for reflections?
You should generally avoid or adjust a circular polarizer when shooting reflections because it is designed to remove glare from non-metallic surfaces like water. If you want to maximize the reflection, dial the polarizer until it has no effect, or remove it entirely to allow the mirror effect to shine.
Q: How do I keep my lens clean in misty mountain conditions?
Keep your lens clean by using a high-quality microfiber cloth and a lens hood, which helps protect the front element from airborne mist. Store your camera inside your bag when not shooting to prevent temperature-induced condensation from forming on the glass when you move between cold and warm environments.
Q: Does the time of year matter for reflection photography?
Yes, the time of year is critical because of the sun’s angle and seasonal weather patterns. Autumn and spring are often best, as the temperature difference between the water and air can create soft morning mist, while the lower sun angle during these months provides longer, more dramatic light for your compositions.
Leave a Reply