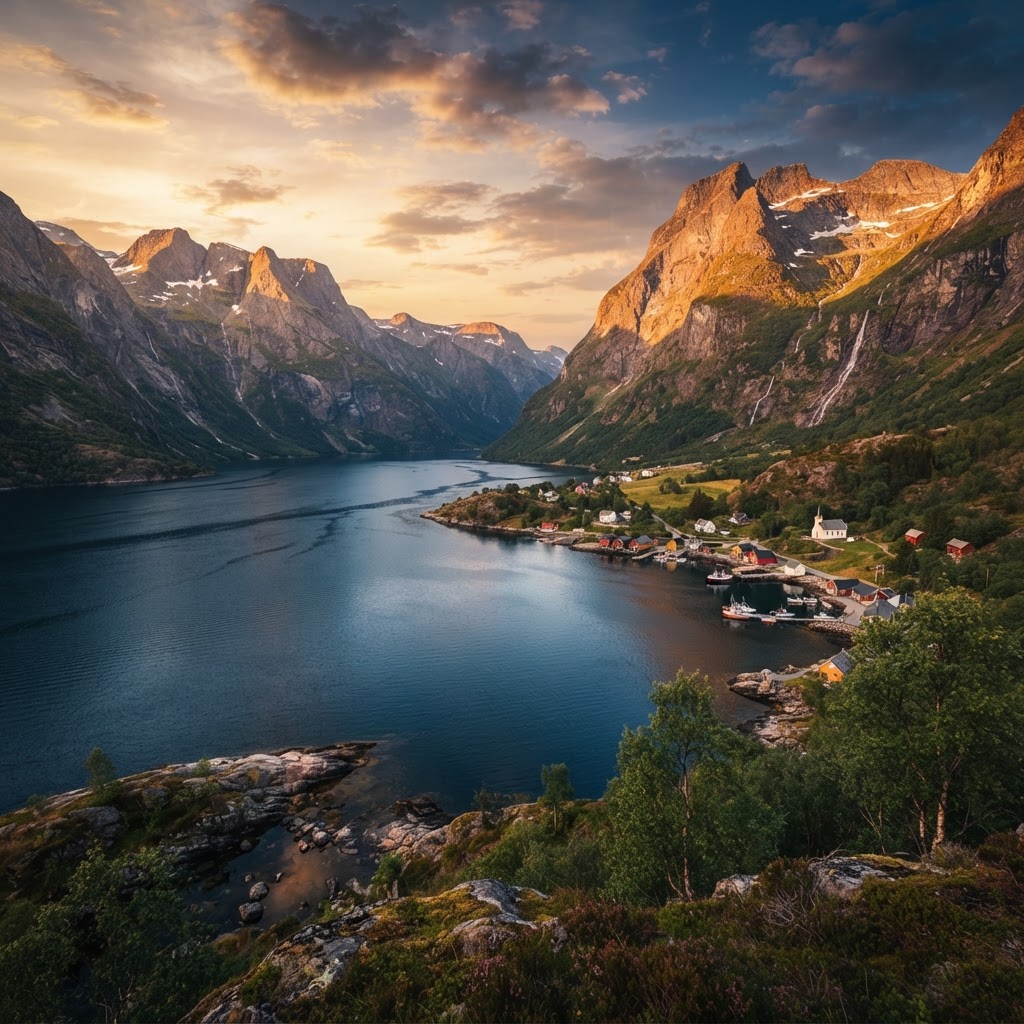
Norway in Golden Hour: A Photographer’s Guide
To capture perfect golden hour photography in Norway, arrive at your location at least two hours before sunset to account for the Arctic sun’s slow descent and low-angle lighting. During summer, this “golden hour” can last up to four hours, providing a massive window to experiment with compositions across the fjords.
The Magic of Arctic Circle Lighting
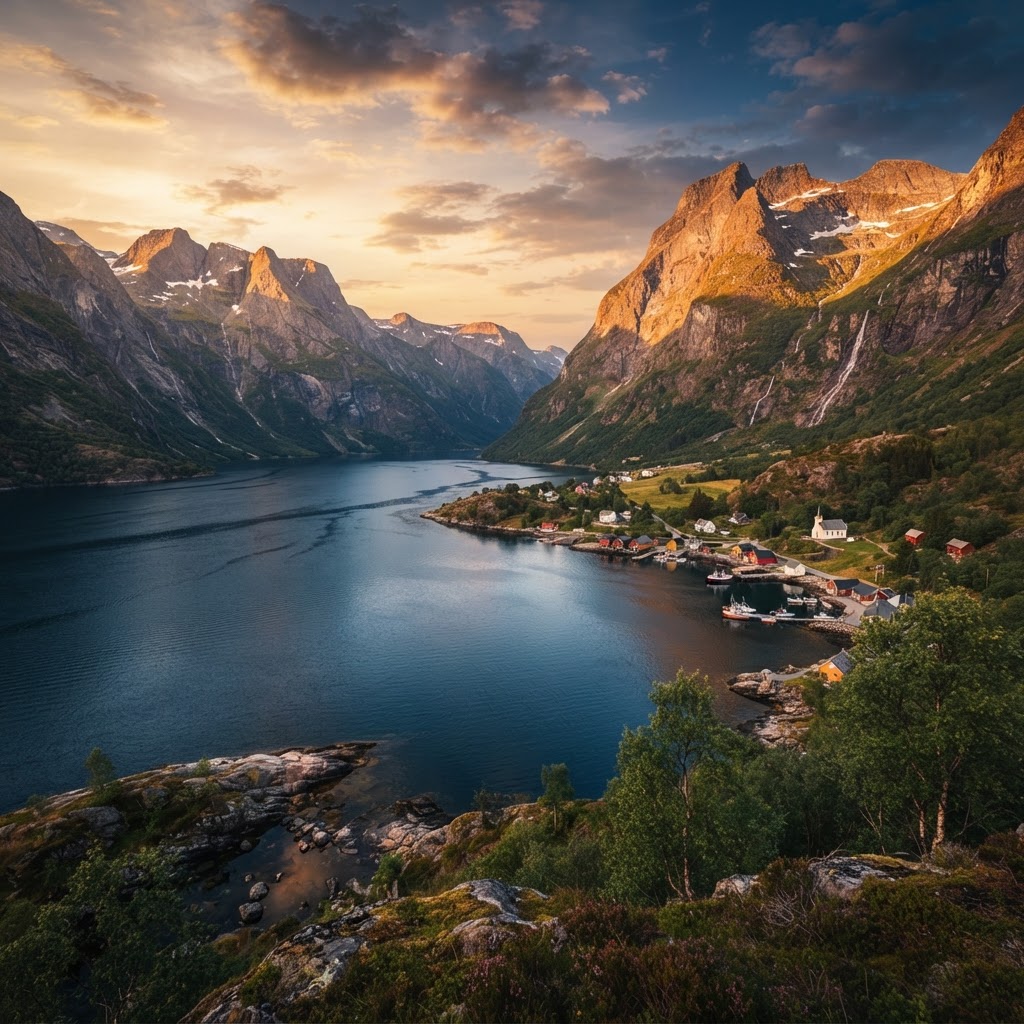
Arctic circle lighting is unique because the sun remains at a shallow, oblique angle relative to the horizon, creating soft, diffused light that persists for hours rather than minutes. Unlike lower-latitude regions where sunset happens in a brief, frantic 20-minute window, Norway’s high-latitude location allows the sun to graze the landscape for an extended duration, typically between 10:00 PM and 2:00 AM in mid-summer. This extended timeframe allows photographers to move between multiple viewpoints, adjust tripods, and wait for clouds to clear without the pressure of the fading light. The quality of light during these hours is rich in warm, amber tones that contrast beautifully with the deep blue hues of the glacial waters, making it the premier time for landscape photography. By understanding that the “hour” is actually a multi-hour event, you can plan for long-form sessions, bringing enough supplies and batteries to shoot through the entire period without needing to rush your creative process.
Essential Gear for Landscape Photography
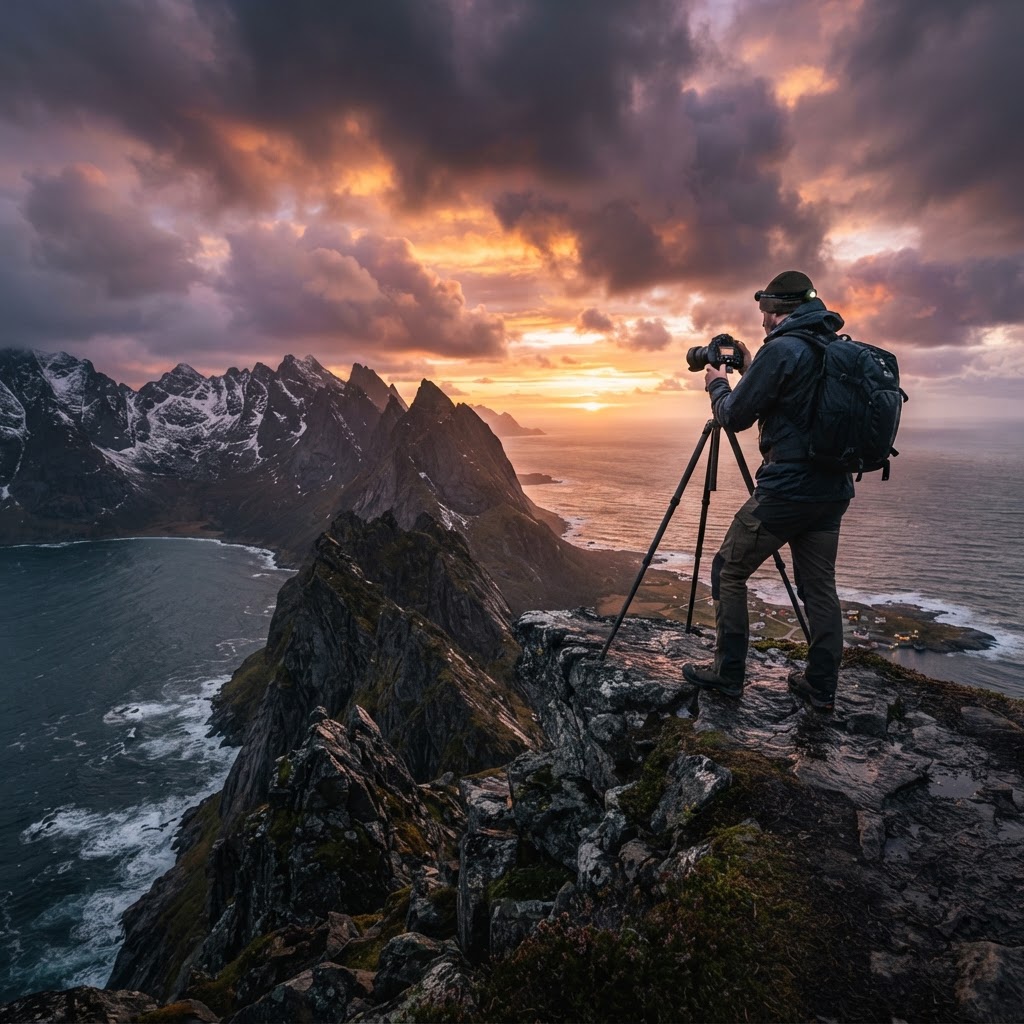
Weight management and durability are the two most critical factors when packing gear for a Norwegian photography expedition, especially when trekking to remote fjord lookouts. Because you will often be shooting in windy, cold conditions, a carbon-fiber tripod is essential to provide the necessary stability for long exposures while remaining light enough to carry on multi-mile hikes. A polarizing filter is non-negotiable for managing reflections on the surface of the fjords, allowing you to reveal the color of the water beneath the sky reflection. Furthermore, a 3-stop or 6-stop graduated neutral density (GND) filter is vital to balance the exposure between the intensely bright sky and the darker, shadowed mountain valleys that define the Norwegian topography. Always prioritize weather-sealed camera bodies and lenses, as sea spray and sudden, localized rain showers are common even on seemingly clear days. By ensuring your kit is both modular and durable, you minimize the risk of mechanical failure while maximizing your chances of capturing the perfect frame in challenging environments.
Must-Have Camera Accessories
- Wide-angle lens (16-35mm range is ideal for massive landscapes)
- Sturdy carbon-fiber tripod for windy mountain ridges
- Extra high-capacity batteries (cold weather depletes charge quickly)
- Lens cleaning kit for sea spray and sudden rain showers
Scouting Best Photo Spots in Norway
Strategic scouting using digital planning tools is the difference between a good shot and a professional-grade portfolio image in the Norwegian wilderness. Tools like PhotoPills or The Photographer’s Ephemeris are essential for calculating the exact azimuth of the sun, ensuring you know precisely which mountain range or ridge line will block the light and when. While the western fjords offer deep, moody reflections that benefit from wide-angle compositions, the northern beaches of Senja provide dramatic, jagged rock foregrounds that serve as perfect leading lines toward the sunset. While Norway’s vast fjords offer a wild, rugged grandeur, those who also enjoy a more manicured, Mediterranean sunset experience might want to research the best Santorini balcony views for a different perspective on golden hour magic. Focus your scouting on locations with high foreground interest, as the soft, golden light is designed to illuminate texture—whether that be the moss-covered rocks of the fjords or the fine, white sand of northern beaches. By visualizing the sun’s trajectory relative to your subject at least 24 to 48 hours in advance, you can avoid common pitfalls like arriving at a viewpoint only to find the sun obstructed by a nearby peak before it has finished its golden cycle.
Mastering Fjord Sunset Photography
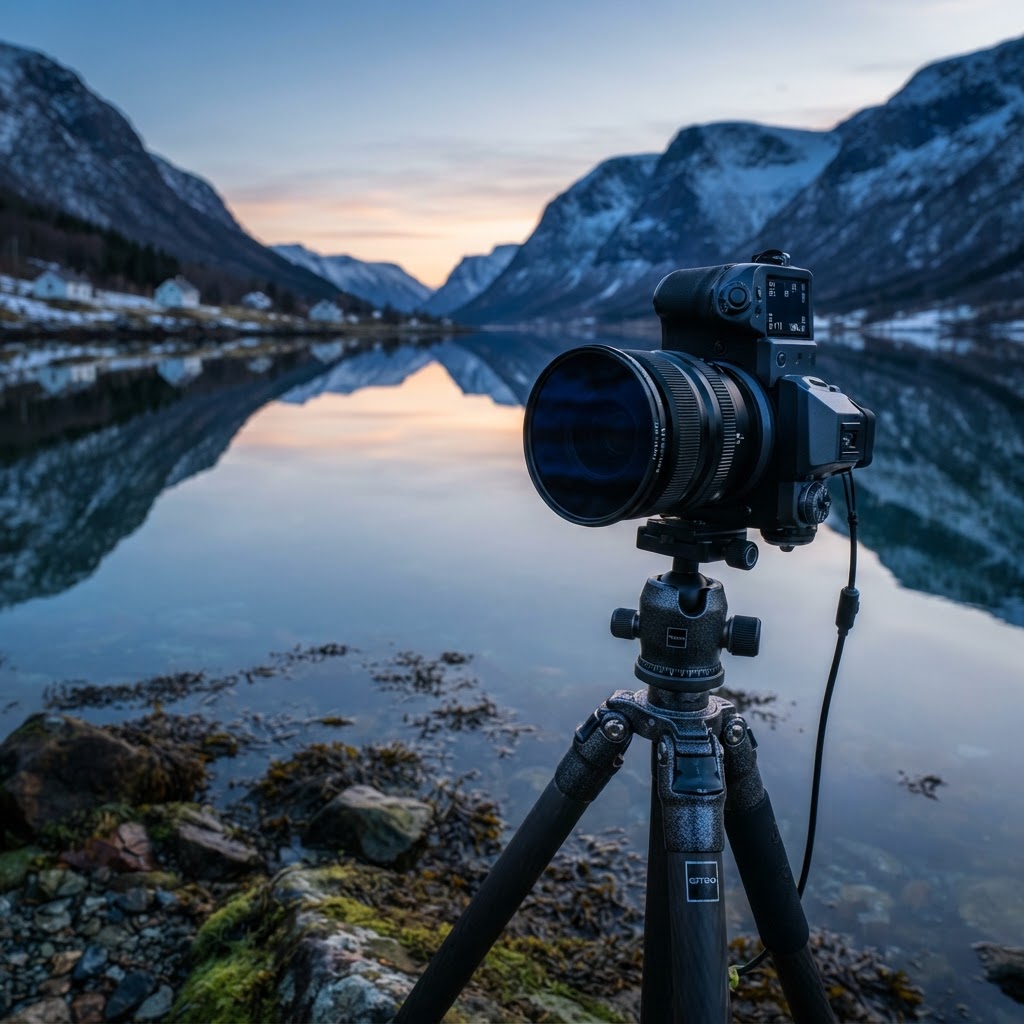
Fjord sunset photography relies on mastering the interplay between the stillness of the water and the rugged, unyielding geometry of the surrounding granite cliffs. To achieve the best results, wait for periods of low wind, typically found during the transition from late evening to early morning, when the water becomes a perfect mirror for the sky’s amber glow. Use a long exposure—typically ranging from 0.5 to 5 seconds—to smooth the water into a soft, painterly surface, which creates a powerful contrast against the sharp, dark, and rugged textures of the fjord walls. This technique captures the “Norway look” that is highly sought after in professional landscape photography. If the water has too much texture, use a polarizing filter to remove surface glare, which enhances the saturation of the deep blue and violet tones in the water, providing a richer color palette that complements the gold in the sky. Timing your shot for the moment the sun grazes the mountain peaks often results in a “starburst” effect if your aperture is set correctly, adding an extra layer of professional detail to your composition.
Camera Settings for the Perfect Glow
Consistent image sharpness and maximum dynamic range are achieved by strictly adhering to specific camera settings designed for the high-contrast conditions of Arctic golden hour. Aim for an aperture of f/8 to f/11, as this “sweet spot” provides the deepest depth of field for expansive landscapes while avoiding the diffraction issues that can occur at smaller apertures like f/16 or f/22. Because golden hour lighting is often low-intensity, use your base ISO (typically 64 or 100) to keep digital noise at an absolute minimum, allowing you to lift shadows during post-processing without introducing grain. If you are struggling with a high dynamic range—where the sky is significantly brighter than the foreground—always use an exposure bracket of 3 to 5 frames, stepping your shutter speed by one full stop between each. This ensures you have full data for the highlights and the darkest mountain shadows, which can be blended into a single, balanced image later. For those shooting moving water, manually set your shutter speed based on the desired level of silkiness, adjusting your aperture or using an ND filter if necessary to keep the shot perfectly exposed.
Planning Your Photography Expedition
Successfully capturing the Scandinavian wilderness requires a high degree of adaptability to the region’s notoriously fickle and rapid weather shifts. It is common to experience sunshine, dense sea fog, and sudden rain showers within a single hour; therefore, always keep your equipment in a weather-sealed bag when not actively shooting. Use a microfiber cloth and a blower bulb to keep your front lens element dry, as water droplets can catch the low-angled sun and create unwanted lens flares or soft spots on your images. Furthermore, plan your itinerary with the assumption that you will need to re-visit locations; if the weather turns, be prepared to wait it out or move to a different micro-climate just a few kilometers away. Accessibility to high-elevation viewpoints often requires a rental vehicle, so factor in the cost of ferries and toll roads, which are common in the fjord regions. By maintaining a flexible schedule and treating every weather change as an opportunity for a different mood or atmosphere, you ensure that you leave Norway with a diverse and compelling collection of images.
FAQ
Q: What time is the best golden hour in Norway?
In summer, the golden hour in Norway is extended, typically occurring between 10:00 PM and 2:00 AM. Because the sun sits at a low angle in the Arctic, the “golden” light lasts significantly longer than at lower latitudes, providing a 3-4 hour window for photography.
Q: Do I need a filter for Norwegian fjord photography?
Yes, a circular polarizing filter and a graduated neutral density (GND) filter are essential for high-quality landscape shots. Polarizers remove glare from water surfaces, while GND filters balance the brightness between the brilliant sunset sky and the dark mountain foregrounds.
Q: How should I prepare for weather in Norway?
Pack high-quality, weather-sealed gear and always carry microfiber cloths to clear moisture from your lens. Since weather can shift rapidly, it is advised to carry a rain cover for your camera and be prepared to wait for brief weather windows to open up for the best light.
Q: What is the ideal aperture for landscape photography?
Apertures between f/8 and f/11 provide the best balance of sharpness and depth of field for large, expansive landscapes. Using this range ensures that both your foreground subjects and the distant mountains remain in focus without sacrificing image quality through diffraction.
Q: Is a tripod necessary for Norway photography?
A sturdy tripod is mandatory for capturing the best light, especially when shooting at low ISOs or utilizing long exposures for water effects. The windy conditions on Norwegian mountain ridges make a heavy or carbon-fiber tripod essential for avoiding camera shake and maintaining image clarity.
Mastering the Logistics of the Midnight Sun
Planning your itinerary requires more than just finding scenic spots. The sun’s path in the Arctic is deceptive and changes rapidly as the season progresses. If you arrive in late August, the light window shrinks significantly compared to the high-summer peak of June. You should prioritize your sleep schedule at least three days before your trip. Your biological clock will struggle when the sun is still high at 2:00 AM.
How to Plan Your Daily Cycle
Shift your entire day forward by at least five hours to align with the optimal light. Eat your dinner at 8:00 PM and start your primary scouting phase at 10:00 PM. This schedule keeps you active during the most productive hours while the crowds are tucked away in their hotels. Use the early afternoon for sleeping, editing, or driving between locations to minimize your exposure to the harsh, flat midday sun.
Common Pitfalls to Avoid
One frequent mistake is underestimating the wind on exposed mountain ridges. Even on a clear, calm day, gusts can easily knock over a lightweight tripod if it is not properly weighted. Always carry a small carabiner to clip your camera bag to the center column of your tripod for added stability. Avoid the common error of shooting directly into the sun without checking your lens for internal reflections. The low-angle light creates intense flare, so keep a microfiber cloth handy to ensure your front element is pristine.
Budgeting for a Norwegian Expedition
Norway is expensive, but you can manage costs by focusing on the right supplies. Expect to pay at least $30 per meal if you eat out, so purchase groceries at local stores like REMA 1000 or Kiwi. Renting a campervan is often the smartest financial choice for a photographer. It serves as both your transport and your mobile studio, saving you hundreds on nightly hotel rates. Fuel prices are high, so factor in an extra $500 for gas if you plan to drive the full length of the Lofoten archipelago.
Essential Pre-Departure Checklist
- Test your memory cards for write speeds before leaving to ensure they handle rapid burst modes.
- Pack a dedicated dry bag to protect your sensitive electronics during boat transfers between islands.
- Bring extra socks and base layers; even in July, temperatures drop quickly when the sun hides behind a peak.
- Download offline maps for the entire region as cellular reception is non-existent in the deep mountain valleys.
- Carry a headlamp with a red-light mode to save your night vision while checking settings in the dark.
Frequently Asked Questions
Is it better to stay in a hotel or a rorbu?
Stay in a traditional rorbu, or fisherman’s cabin, for the most authentic experience. These wooden structures are built directly over the water, giving you immediate access to the tide line without needing to commute. They offer the best vantage points for morning shots right outside your front door.
What is the biggest challenge when shooting fjords?
Managing the scale is your biggest challenge. The mountains are immense, and they often dwarf your subject matter in the frame. Include a person or a small boat in your composition to provide the viewer with a sense of the true, massive scale of the landscape.
Should I bother with a drone in Norway?
Yes, but check local regulations carefully before you fly. Many protected national parks have strict no-drone zones to prevent noise pollution. Use a drone for perspective, but do not rely on it exclusively, as high winds near the fjords often ground them for days at a time.
Leave a Reply