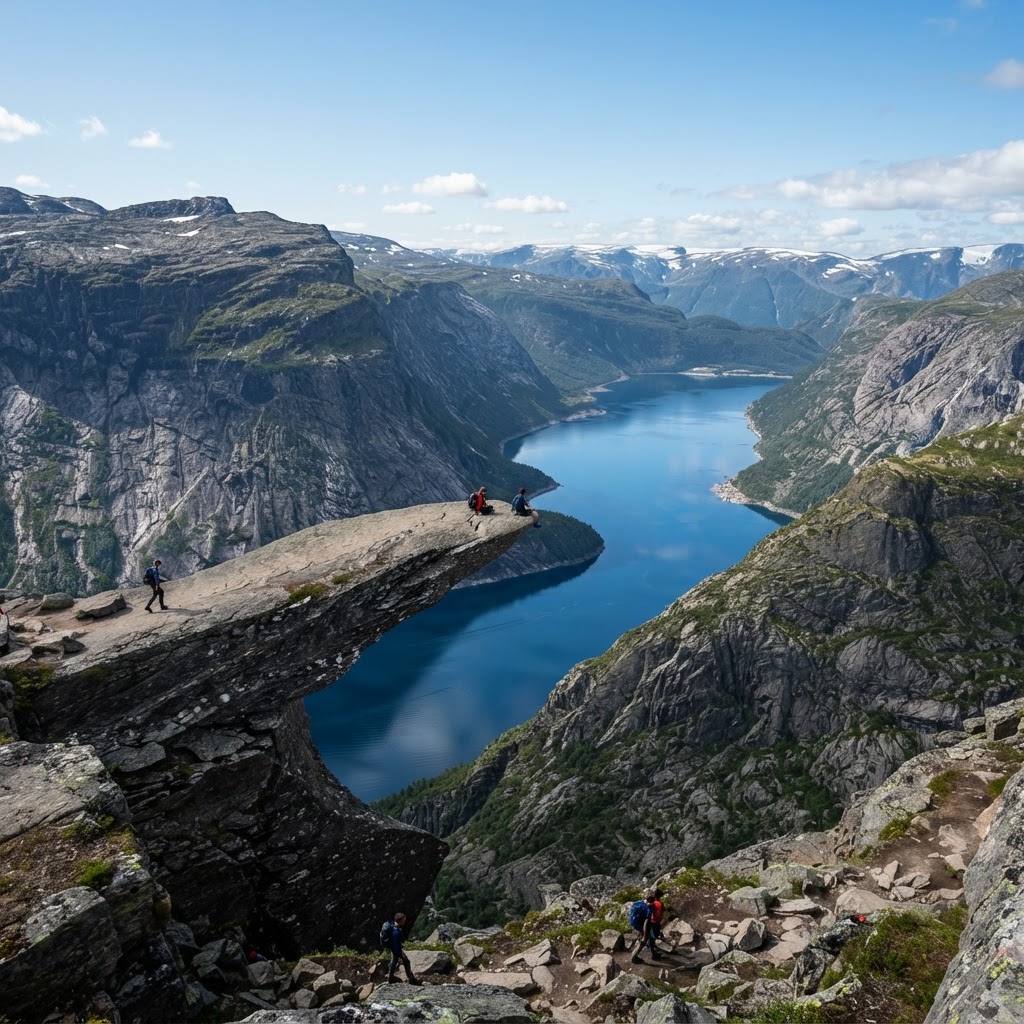
Standing on the Edge of Trolltunga: Ultimate Guide
Standing on the edge of Trolltunga is a strenuous 28-kilometer round-trip hike requiring 10-12 hours, a high level of physical fitness, and professional-grade hiking gear. Located 700 meters above Lake Ringedalsvatnet, this iconic Norwegian landmark demands advanced preparation due to unpredictable mountain weather and significant elevation gains of over 800 meters.
Understanding the Trolltunga Trail
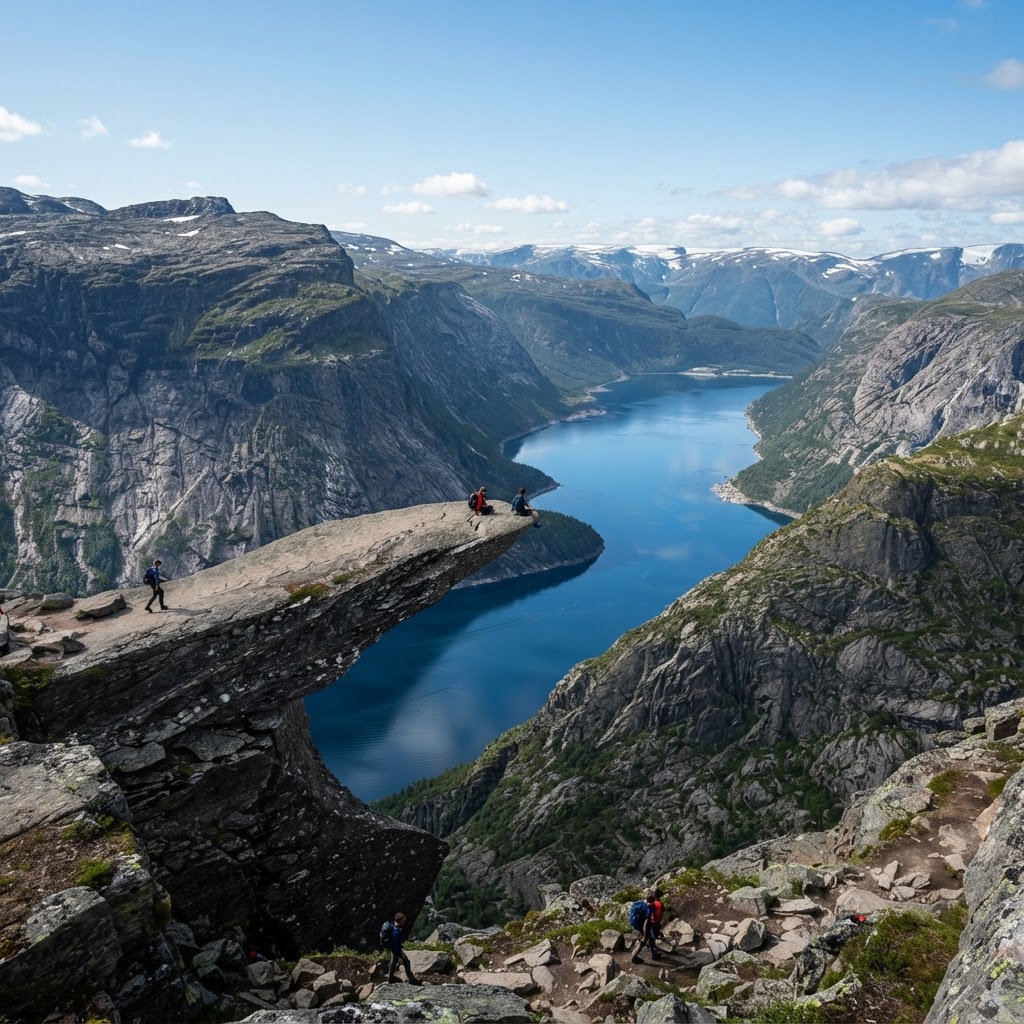
The hike to Trolltunga is challenging, spanning roughly 28 kilometers round-trip if you start from the P3 upper parking lot. The trail takes you through rugged terrain, exposed ridges, and beautiful high-mountain plateaus. Before you commit to standing on the edge of Trolltunga, you need to understand that this is not a casual afternoon stroll. It is a demanding full-day expedition that requires a high level of cardiovascular fitness and proper preparation. Hikers should anticipate 10 to 12 hours of total trail time. While the trail is marked with red ‘T’s painted on rocks, heavy mist can obscure these markers, making navigation skills essential. The path is divided into several phases: the steep initial climb from P3, followed by a flatter mountain plateau, and finally the rocky ridge leading to the tongue itself. Pace yourself early; burning out in the first 4 kilometers is the most common reason for turning back before reaching the destination.
Essential Gear for Your Norway Adventure
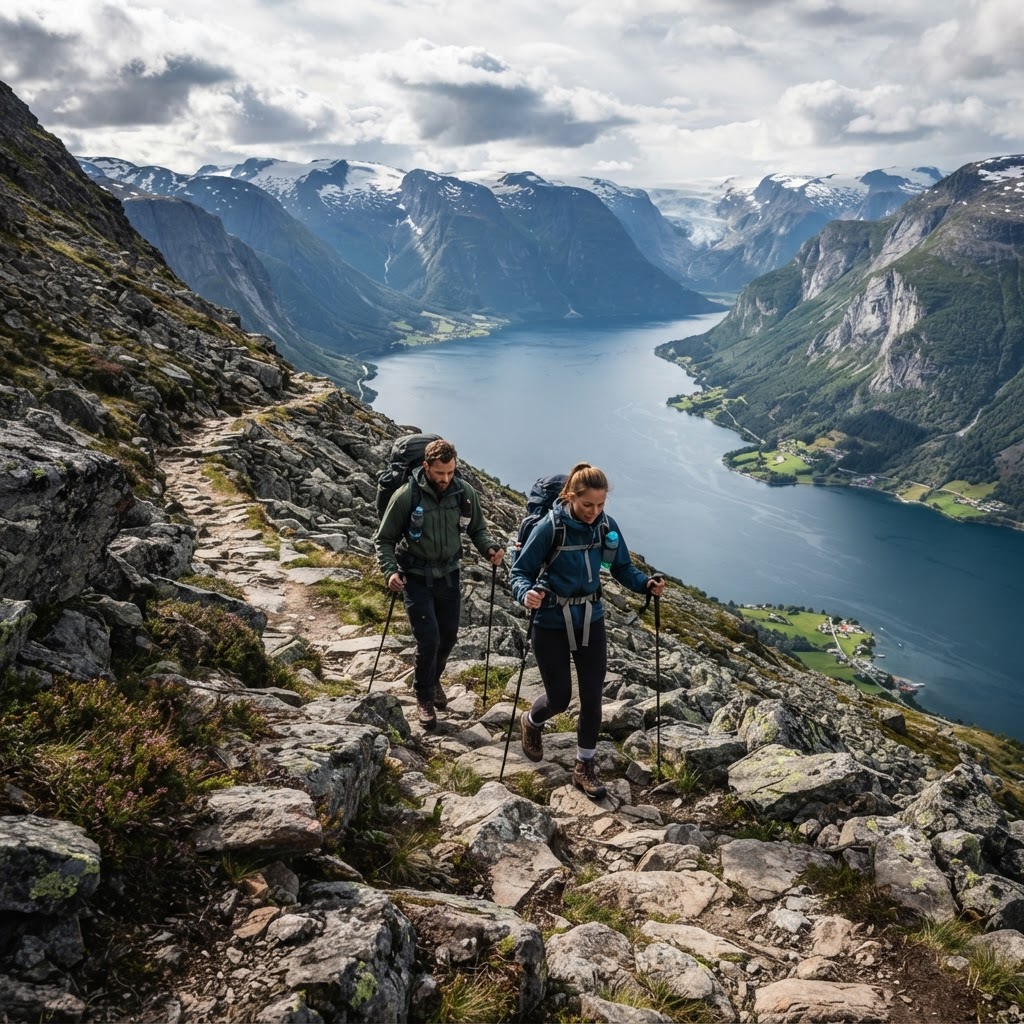
Having the right equipment is the difference between a successful summit and a dangerous situation. Because the weather in the Hardangerfjord region can change in minutes, you must be prepared for rain, wind, and even snow, regardless of the season. Use this checklist to build your Trolltunga gear list:
- Sturdy, waterproof hiking boots with ankle support
- Moisture-wicking base layers (merino wool is ideal)
- A high-quality waterproof and windproof shell jacket
- Navigation tools like a map and compass, plus a GPS app
- At least 3 liters of water capacity
- A headlamp with extra batteries
- A well-stocked first-aid kit with blister protection
| Item | Requirement | Why It Matters |
|---|---|---|
| Footwear | Sturdy Hiking Boots | Ankle stability on loose granite |
| Water | 3 Liters Minimum | Limited refill points on the plateau |
| Clothing | Layers (Merino Wool) | Prevents hypothermia in sudden rain |
| Navigation | GPS/Physical Map | Whiteout conditions hide trail markers |
Why Footwear Matters
Many hikers make the mistake of wearing casual sneakers. The trail consists of granite rocks, mud, and uneven paths that require significant ankle stability. Choosing proper footwear is non-negotiable for anyone serious about standing on the edge of Trolltunga. Improper footwear is the primary contributor to ankle sprains and stress fractures, which often require expensive mountain rescue services to evacuate hikers from the remote plateau.
Best Time to Visit Norway for the Trek
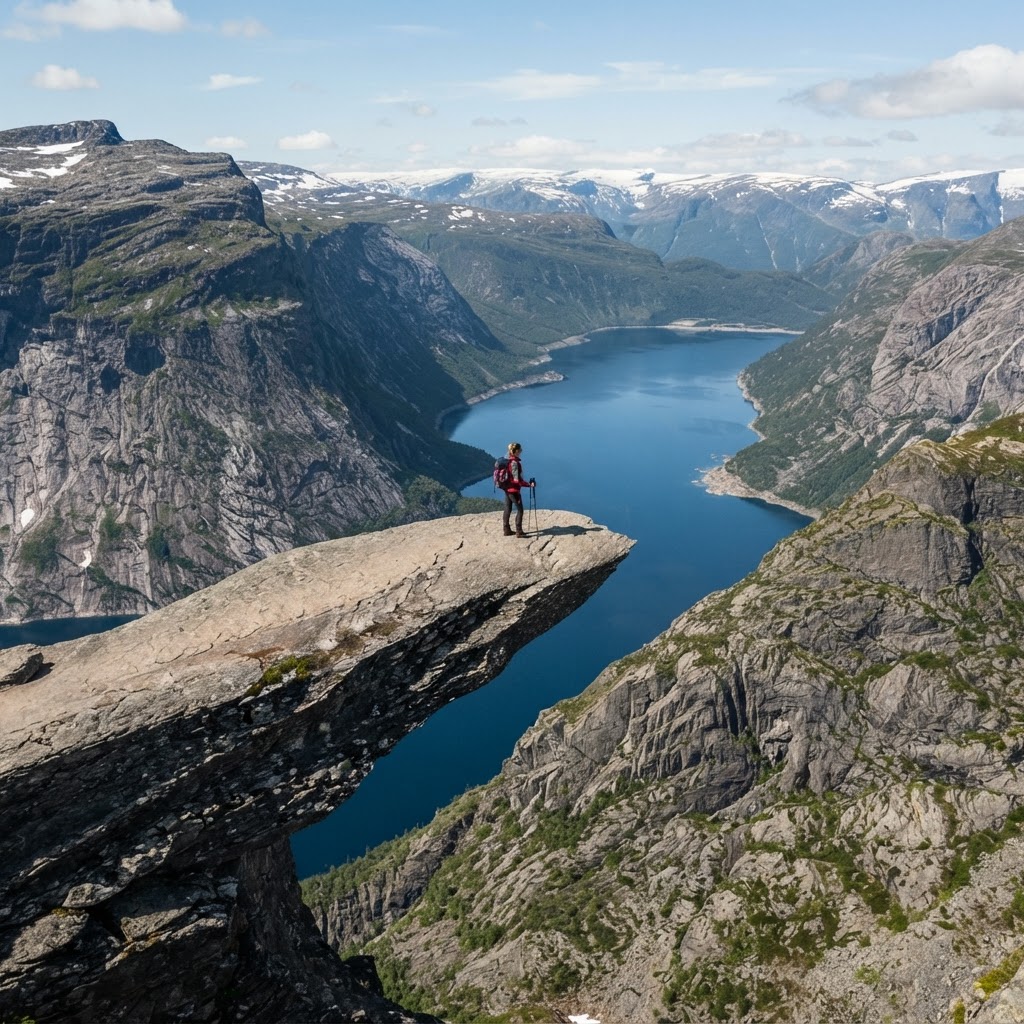
The hiking season typically runs from June to September. If you attempt the trek outside of these months, you will likely encounter deep snow, which necessitates the use of snowshoes or professional guidance. The best time to hike Trolltunga is generally mid-July through August, when daylight hours are long and the trails are most accessible. Always check the official weather forecast from Yr.no before departing your accommodation.
| Month | Conditions | Suitability |
|---|---|---|
| June | Lingering snow patches | Challenging/Advanced |
| July | Long days, clear trails | Ideal |
| August | Stable weather, busy trails | Ideal |
| September | Early frost/shorter days | Experienced only |
Physical Preparation and Training
Do not underestimate the vertical gain. You will be ascending over 800 meters from the trailhead. To prepare, incorporate long-distance hikes with heavy packs into your routine at least two months before your trip. Focus on your glutes, quads, and core stability to handle the constant changes in elevation. Training sessions should simulate the duration of the hike; aim for a 6-hour endurance walk at least once per week. Incorporating stair-climber intervals or step-box exercises can help build the specific muscular endurance needed for the relentless incline. Remember that your pack will weigh between 5kg and 8kg, so training with a weighted backpack is critical to prevent mid-hike fatigue. If you cannot hike for 5 consecutive hours without exhaustion, you may want to reconsider your readiness for this specific trail.
Safety Protocols for Mountain Hiking
Hiking Norway safely means acknowledging your limits. The most common cause of accidents is exhaustion combined with poor weather. If the fog rolls in or you feel symptoms of altitude sickness or extreme fatigue, turn back. Standing on the edge of Trolltunga is thrilling, but it is not worth your life. Always let your hotel or a local contact know your planned route and expected return time. In the event of an emergency, the emergency number in Norway is 112. Mountain rescue teams operate strictly based on weather conditions; if conditions are too dangerous for you, they may be unable to reach you quickly. Always carry a whistle and a space blanket in your kit, as these tools can be lifesavers if you are forced to wait out a storm on the mountain plateau. Keep your phone charged, but bring a power bank as cold temperatures drain batteries significantly faster than at lower elevations.
The Final Stretch: Reaching the Edge
As you reach the final kilometer, the anticipation builds. When you finally arrive at the tongue, take a moment to breathe. The line for the photo can be long, so be patient with your fellow hikers. Remember that the ledge is a natural formation; always exercise extreme caution, especially when it is windy. Standing on the edge of Trolltunga requires balance and focus, so don’t let the adrenaline override your common sense. Do not attempt to stand on the very tip if the wind speeds exceed 15 m/s. The granite is slippery when wet, and the drop-off is vertical. Observe the etiquette of the location: take your photos promptly, move off the rock to allow others their turn, and prioritize safety over the perfect social media shot.
FAQ
Q: Is the Trolltunga hike considered difficult?
Yes, it is rated as a demanding hike due to its 28-kilometer length and 800-meter elevation gain. It requires excellent physical conditioning and the ability to navigate rocky terrain for 10-12 hours in a single day.
Q: Can I hike to Trolltunga without a guide?
Yes, the trail is marked, but it is recommended for experienced hikers only. If you are not familiar with mountain navigation or are hiking outside of the July-August window, hiring a professional guide is strongly advised for your safety.
Q: Do I need to pay to park at the trailhead?
Yes, parking at P1, P2, and P3 requires payment. Prices vary by lot, with P3 being the most expensive due to its closer proximity to the trail. It is highly recommended to book your parking spot online in advance as slots fill up quickly.
Q: What should I do if the weather turns bad?
If fog, high winds, or heavy rain develop, you must turn around immediately. Mountain weather in the Hardangerfjord area is notoriously volatile, and descending the slippery granite rocks in poor visibility is extremely dangerous.
Q: Is there water available along the trail?
While there are natural streams on the plateau, it is safest to carry at least 3 liters of water from the start. Never rely on finding clean running water, and consider bringing purification tablets if you plan to refill your bottles in the mountains.
Leave a Reply