
Rome’s Colosseum at Blue Hour: A Photographer’s Guide
To photograph the Colosseum at blue hour, arrive 30 minutes before sunset to capture the transition when the sky turns deep indigo and balances perfectly with the monument’s warm golden floodlights. This 20-40 minute window offers the ideal contrast between the historical stone textures and the vibrant evening atmosphere of Rome.
The Magic of the Blue Hour in Rome
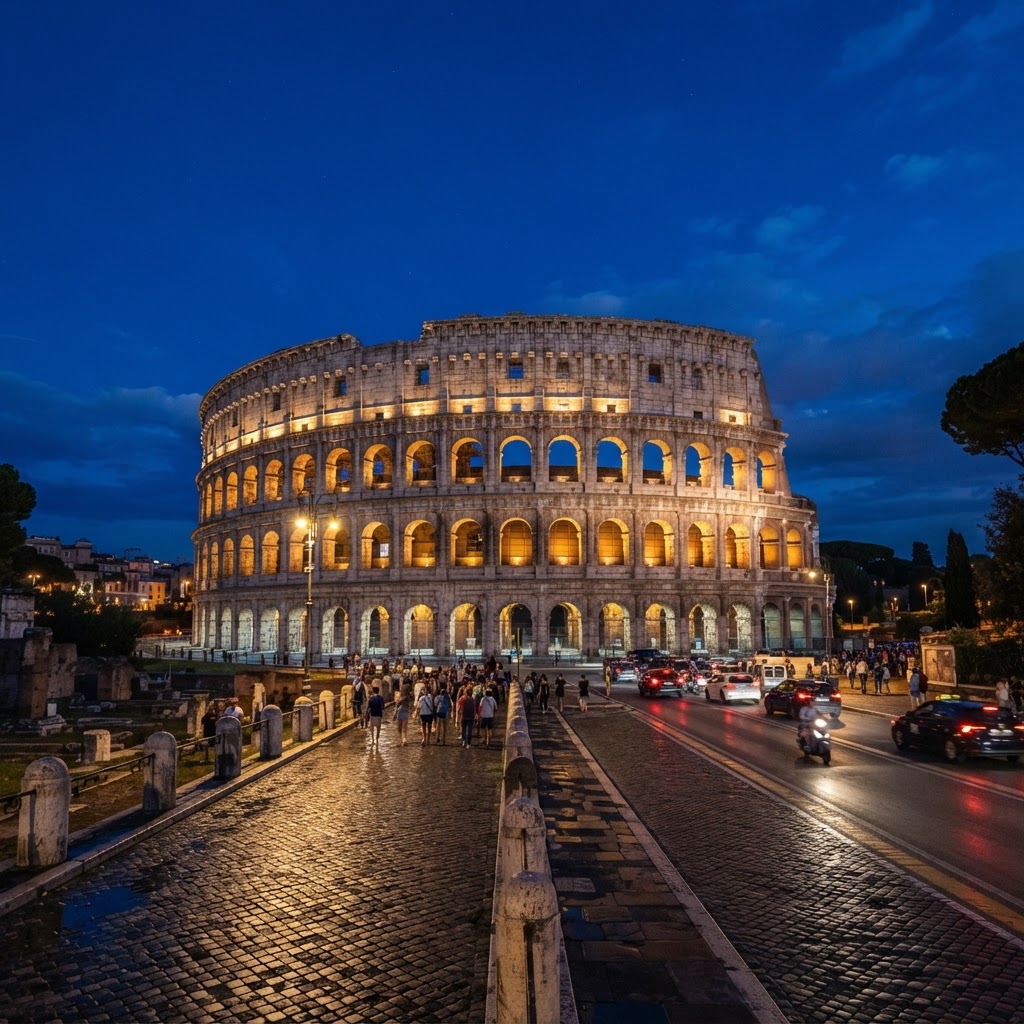
Photography enthusiasts refer to the blue hour as the ‘magic time’ because the sky’s natural saturation creates a cinematic backdrop that soft-illuminates the Colosseum’s travertine limestone. Unlike the harsh, flat light of midday, the atmospheric diffusion during twilight minimizes deep shadows, revealing intricate details in the amphitheater’s arches and columns. This period, occurring shortly after the sun dips below the horizon, provides a unique color temperature match between the cooling sky and the building’s artificial illumination.
Why Lighting Matters
In architectural photography, lighting is the single most important variable for depth and clarity. During the blue hour, the sky’s color temperature typically sits between 6000K and 8000K, which perfectly complements the warm 2700K-3000K artificial floodlights surrounding the monument. This harmony prevents the typical ‘blown-out’ highlights seen in daytime photography, resulting in a balanced, cinematic image. By avoiding direct sunlight, you eliminate the risk of high-contrast shadows that can obscure the Flavian Amphitheatre’s complex facade. This lighting window provides a consistent, soft, and omnidirectional glow that emphasizes the monument’s monumental scale while maintaining realistic textures. Using this timeframe, you transform a standard tourist photograph into a professional-grade study of light and structure.
Planning Your Visit for Perfect Conditions
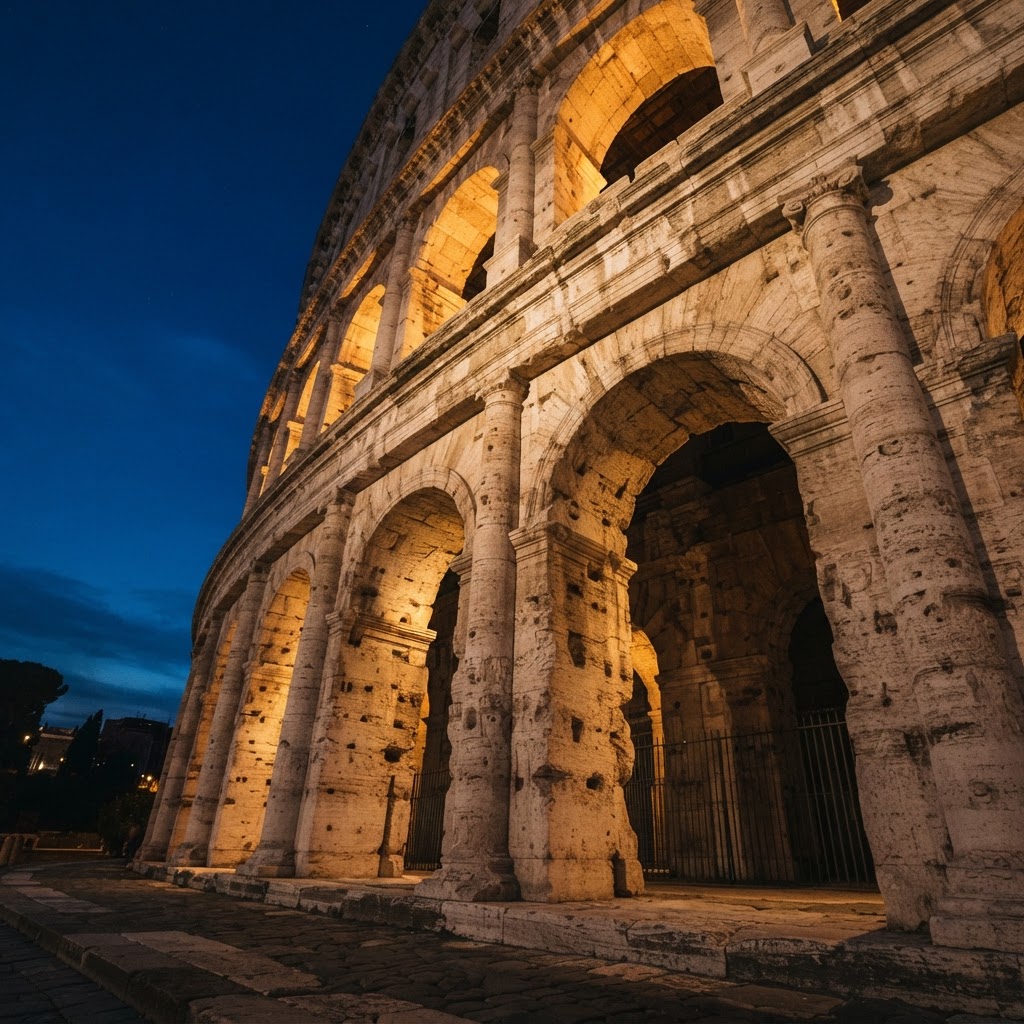
The secret to capturing the perfect view of Rome’s Colosseum at blue hour lies in precise timing and preparation. The blue hour typically lasts between 20 and 40 minutes, depending on the season, starting immediately after the sun has set. Because Rome experiences varying sunset times—ranging from approximately 4:40 PM in December to 8:50 PM in June—checking local weather apps and solar calendars is essential to avoid missing the optimal light window.
Arriving at least 30 minutes before the official sunset allows you to scout your composition and test your camera settings. This preparation period is critical because the sky shifts rapidly through indigo and violet, and you will need to adjust your exposure settings in real-time as the ambient light levels drop. Being in position early ensures you aren’t fighting crowds for the prime railing spots when the illumination reaches its peak.
Best Vantage Points for Iconic Shots
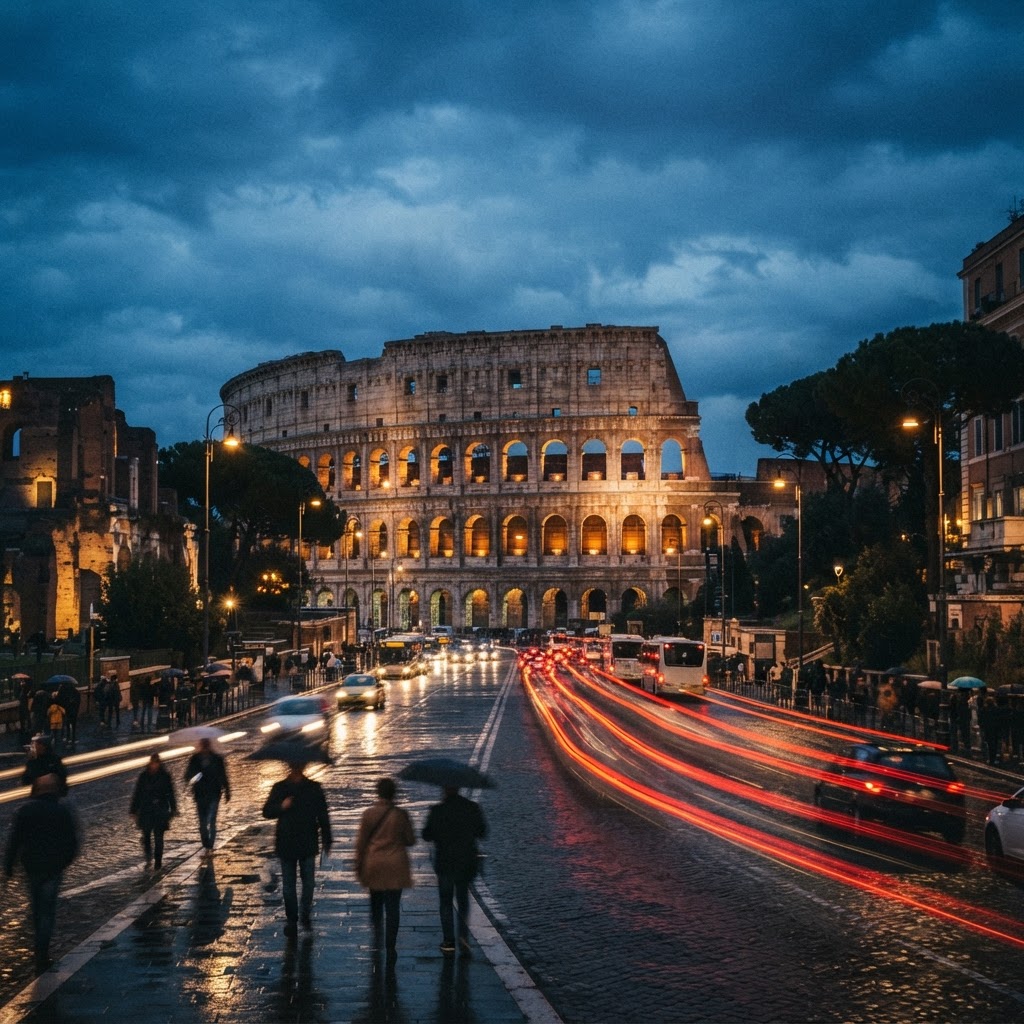
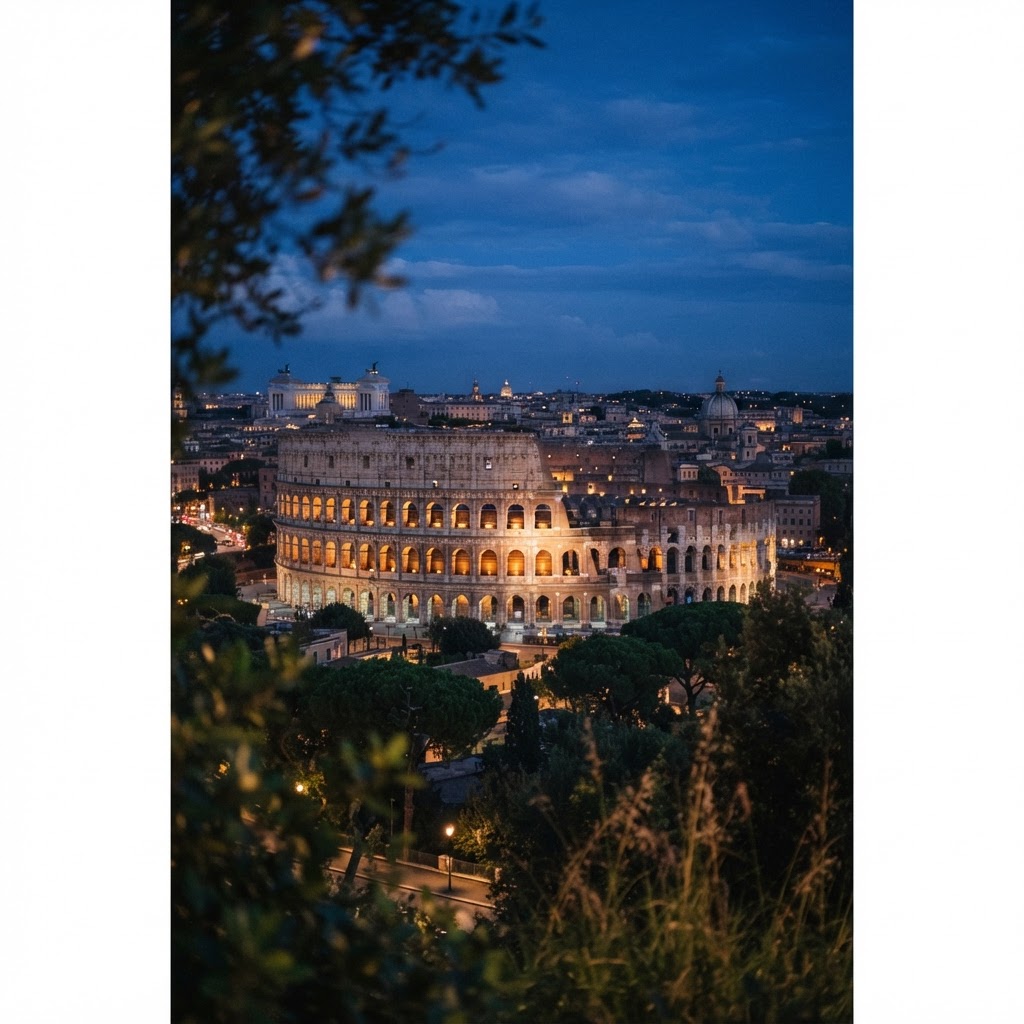
Finding the right angle is crucial for showcasing the Colosseum’s grandeur, and several locations offer distinct perspectives that frame the monument in its best light.
- Via dei Fori Imperiali: This road offers a straight-on, symmetrical view that is ideal for wide-angle lenses, allowing you to capture the full width of the structure against the darkening sky.
- Colle Oppio Park: This elevated vantage point provides a clear view above the tree line, which is excellent for isolating the Colosseum against the city lights background while avoiding foreground obstructions.
- The Arch of Constantine: Positioned near the amphitheater, the Arch acts as a perfect natural frame for your images, adding depth and necessary historical context to your shots.
Using Foreground Elements
When framing your shot, look for dynamic elements that lead the eye toward the amphitheater. The ancient columns, the cobblestone streets, or even the motion blur of a passing Roman Vespa can add a human element that tells a story. Experimenting with different distances will help you decide whether you want to focus on the structure itself or its relationship with the surrounding urban environment. By placing a foreground object like a lamp post or a statue in the lower third of your frame, you create a sense of scale that emphasizes the massive size of the Flavian Amphitheatre. These elements provide a “lived-in” feel to your photography, moving the image beyond a simple static monument shot to a narrative piece that captures the spirit of evening life in Rome.
Essential Photography Gear and Settings
To capture Rome’s Colosseum at blue hour with maximum clarity, your equipment needs to be both stable and versatile, as low-light conditions make handheld photography nearly impossible. A sturdy tripod is a non-negotiable tool for architectural photography; it allows you to utilize a low ISO setting for maximum dynamic range and high-quality image output without the grain associated with higher sensitivities.
Recommended Settings for Blue Hour
- Aperture: Use f/8 to f/11 for optimal depth of field, ensuring both the foreground and the monument are in sharp focus.
- Shutter Speed: Use a long exposure between 2 and 10 seconds; use a remote shutter release or 2-second timer to avoid camera shake.
- ISO: Keep this at 100 or 200 to eliminate sensor noise and maintain crisp architectural detail.
- Format: Always shoot in RAW to ensure you have maximum flexibility during the post-processing phase when adjusting highlights and blue tones.
If the scene is too dark for your light meter, rely on your camera’s histogram. Aim for a balanced distribution that keeps the shadows deep but prevents the bright floodlights from clipping or overexposing. If necessary, use exposure bracketing to combine multiple shots into an HDR image to ensure the facade detail is preserved.
Navigating the Crowds and Logistics
The area surrounding the Colosseum is always busy, but the blue hour shift offers a unique opportunity to observe the transition from tourist crowds to local Roman life. As day trippers return to their hotels, the plazas begin to quiet down, providing you with better access to key vantage points. To ensure your safety and that of your equipment, stay aware of your surroundings, especially in the busy tourist zones near the Metro B line exit. Keep your camera bag zipped and secured, and use a camera strap around your neck at all times. Since the Colosseum is a major transport hub, utilize the public transport options to move easily through the area after the light fades into full night.
The Emotional Impact of the Ancient Stones
Standing in the shadow of the Flavian Amphitheatre as the stars begin to emerge is a profoundly moving experience that bridges the gap between modern travel and ancient history. While daytime tours focus on educational facts, the blue hour experience is meditative and emotional. The silence, despite the city’s hum, feels heavy with the echoes of history. For many photographers, this is the highlight of their Roman holiday, offering a moment of quiet reflection before heading to a nearby trattoria. As you pack up your gear, you carry with you not just a digital file, but a sense of connection to a civilization that defined the Western world.
Tips for Post-Processing Your Images
Capturing the image is only half the process, as post-processing is where you can truly enhance the deep blues of the sky and the warm, golden glow of the stone. Focus on lifting the shadows slightly to reveal detail in the arches without introducing digital noise. Ensure your white balance is set correctly by adjusting the temperature slider toward the blue side, then fine-tuning with the tint slider until the stone colors feel warm and natural rather than “cool” or “dead.” Aim to reflect the atmosphere you felt on-site; avoid excessive clarity or saturation sliders which can create a synthetic, overly HDR-processed look that clashes with the organic beauty of the monument.
FAQ
Q: What is the exact best time to arrive at the Colosseum for photos?
Arrive at least 30 minutes before the official sunset time listed for Rome. This gives you time to find a secure spot for your tripod, adjust your camera settings, and watch the sky transition colors before the peak blue hour occurs.
Q: Do I need a professional camera to get good blue hour shots?
While a DSLR or mirrorless camera allows for more control, a smartphone with a “Night Mode” or a manual photography app can achieve excellent results. The most important tool is a stable tripod to keep your device steady during the longer exposure times required for low light.
Q: Is it safe to carry expensive camera gear around the Colosseum at night?
Yes, it is generally safe as long as you remain vigilant and keep your equipment secured close to your body. Stick to well-lit, populated areas and avoid setting up your gear in dark, isolated corners or near high-traffic tourist pedestrian routes.
Q: Are tripods allowed at the Colosseum perimeter?
Yes, tripods are generally permitted on the public sidewalks and plazas surrounding the Colosseum, such as on Via dei Fori Imperiali. You are not allowed to set up tripods inside the paid archaeological site itself without a professional filming permit.
Q: What are the best camera settings for architectural detail in the dark?
Use an aperture of f/8 to f/11 for depth, an ISO of 100 for minimal noise, and a shutter speed between 2 to 10 seconds. Shooting in RAW format is critical, as it allows you to recover shadow details and adjust white balance during post-processing.
Leave a Reply