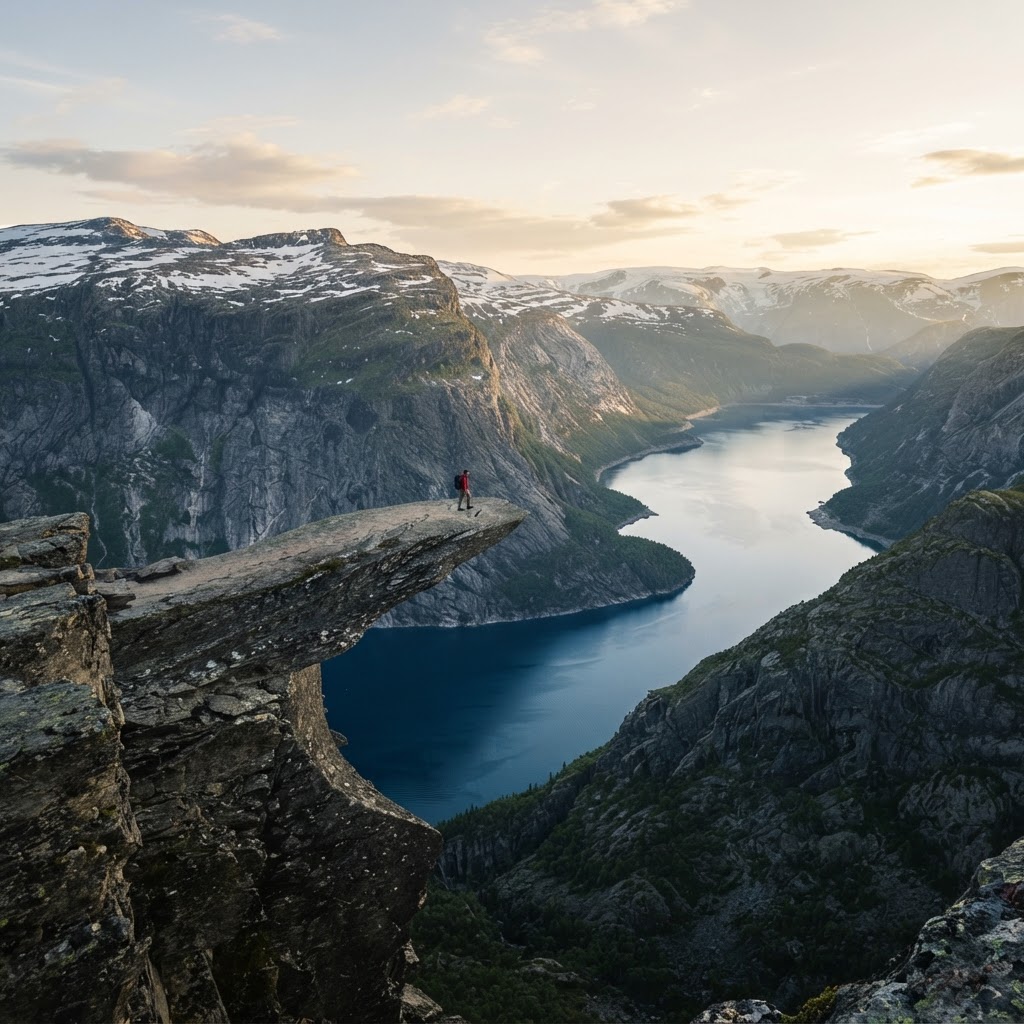
The hike to Trolltunga is a strenuous 20 to 28-kilometer round-trip trek in Norway that typically takes 8 to 12 hours to complete, with an elevation gain of approximately 800 meters. This iconic trail, best hiked between June and September, requires excellent physical fitness, proper gear, and careful preparation due to unpredictable mountain weather and rugged terrain.
Understanding the Trolltunga Trail
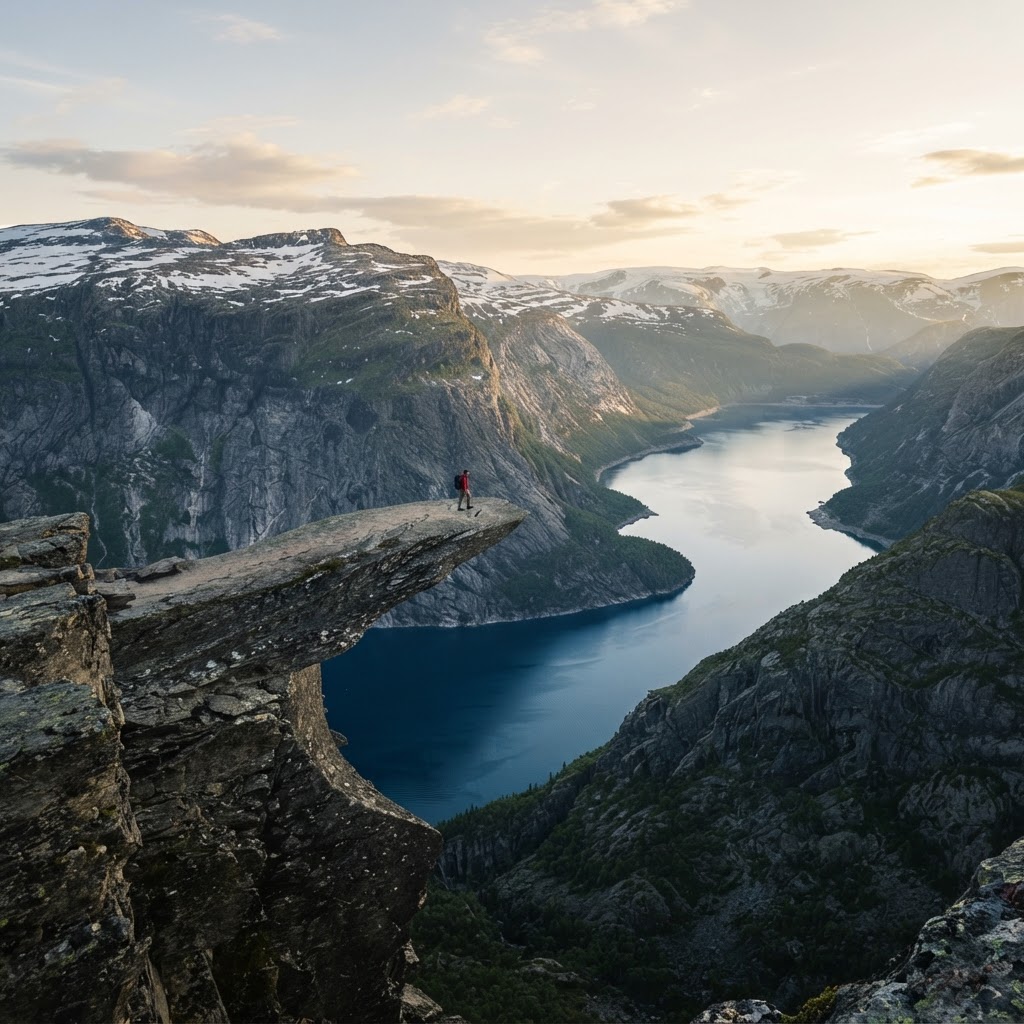
Understanding the scale of the Trolltunga trail is the first step toward a safe and successful summit. The trek is categorized as a demanding mountain hike, and you must choose your starting point carefully as it impacts the total distance: starting at P3 (the highest parking lot) reduces the round-trip distance to 20 km, while starting at P1 (the lowest lot) can push the trek to 28 km or more, including a grueling initial ascent on a paved service road.
” src=”https://img.youtube.com/vi/rdLCij3ScJs/hqdefault.jpg” style=”display:block; margin:2.5em auto; max-width:100%; height:auto;” />
With an elevation gain of roughly 800 meters, this is not a walk in the park. The terrain is highly variable, featuring steep climbs, rocky plateaus, and sections of loose shale that require good balance. Most hikers spend between 8 to 12 hours on the trail depending on their pace and the parking lot they choose. Because weather in the Hardangervidda region can shift from sunshine to hail in minutes, your physical fitness and prior hiking experience are critical safety factors. Hikers should be prepared for “Type 2 fun”—a journey that is mentally and physically taxing but deeply rewarding.
When is the Best Time to Visit?
The Norwegian mountain season for Trolltunga is strictly limited, with the official hiking season spanning from June 1st to September 30th to ensure safety and trail accessibility. Attempting this hike outside of these months without a professional guide is dangerous and strongly discouraged due to deep snow and limited daylight hours.
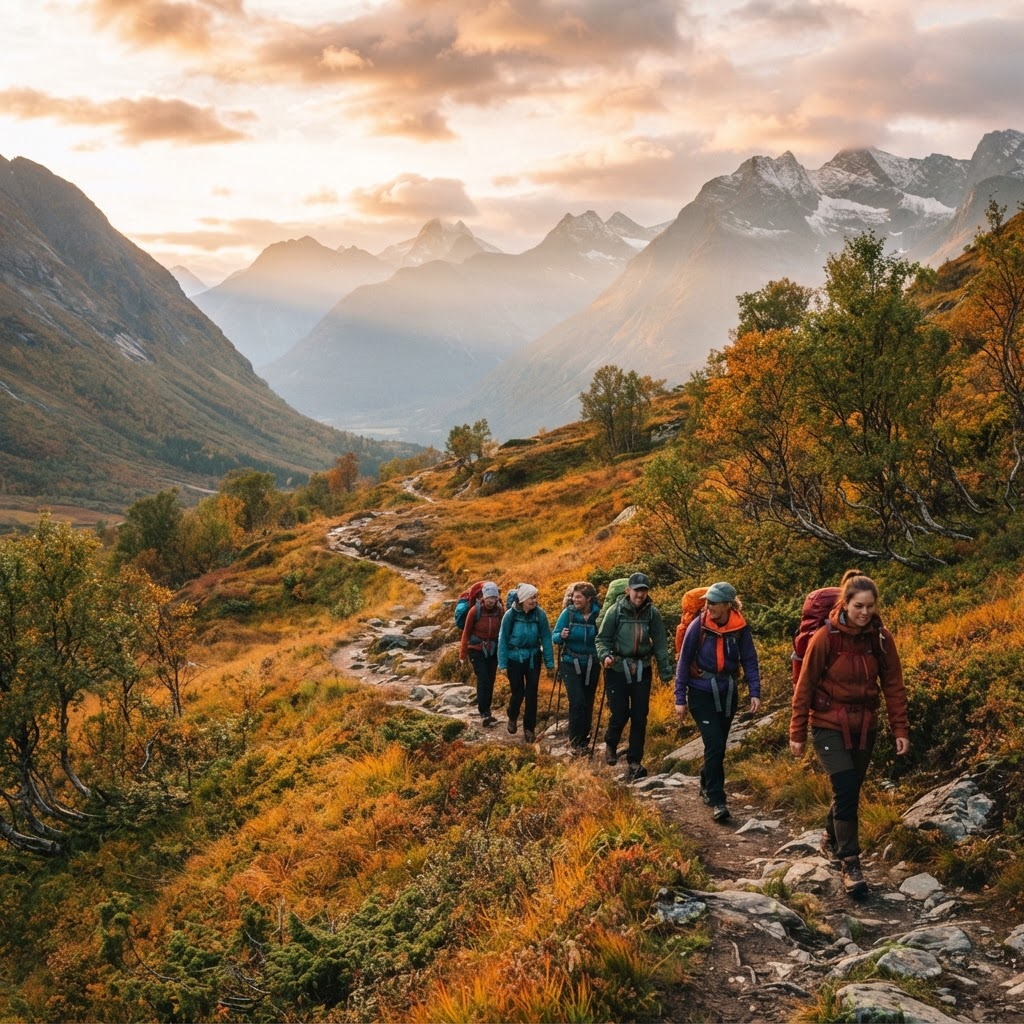
Planning your hike during this window is crucial for your safety. Early in the season, you will encounter lingering snow patches at higher elevations, which require steady navigation skills. By mid-summer, the snow has mostly melted, and the weather is generally milder, though the trail sees its highest volume of traffic. September offers a stunning display of autumn foliage and lower crowds, but you must account for significantly shorter daylight hours and lower temperatures. Always monitor the Yr.no weather forecast for the Tyssedal region before setting out.
Essential Gear for Your Trek
Having the right equipment acts as your primary defense against the volatile Norwegian mountain environment, where layering is the absolute key to comfort. You should follow the three-layer system: a moisture-wicking synthetic or wool base layer, an insulating fleece or wool mid-layer, and a high-quality, windproof and waterproof shell jacket.
” src=”https://img.youtube.com/vi/B1m_YyWhv_4/hqdefault.jpg” style=”display:block; margin:2.5em auto; max-width:100%; height:auto;” />
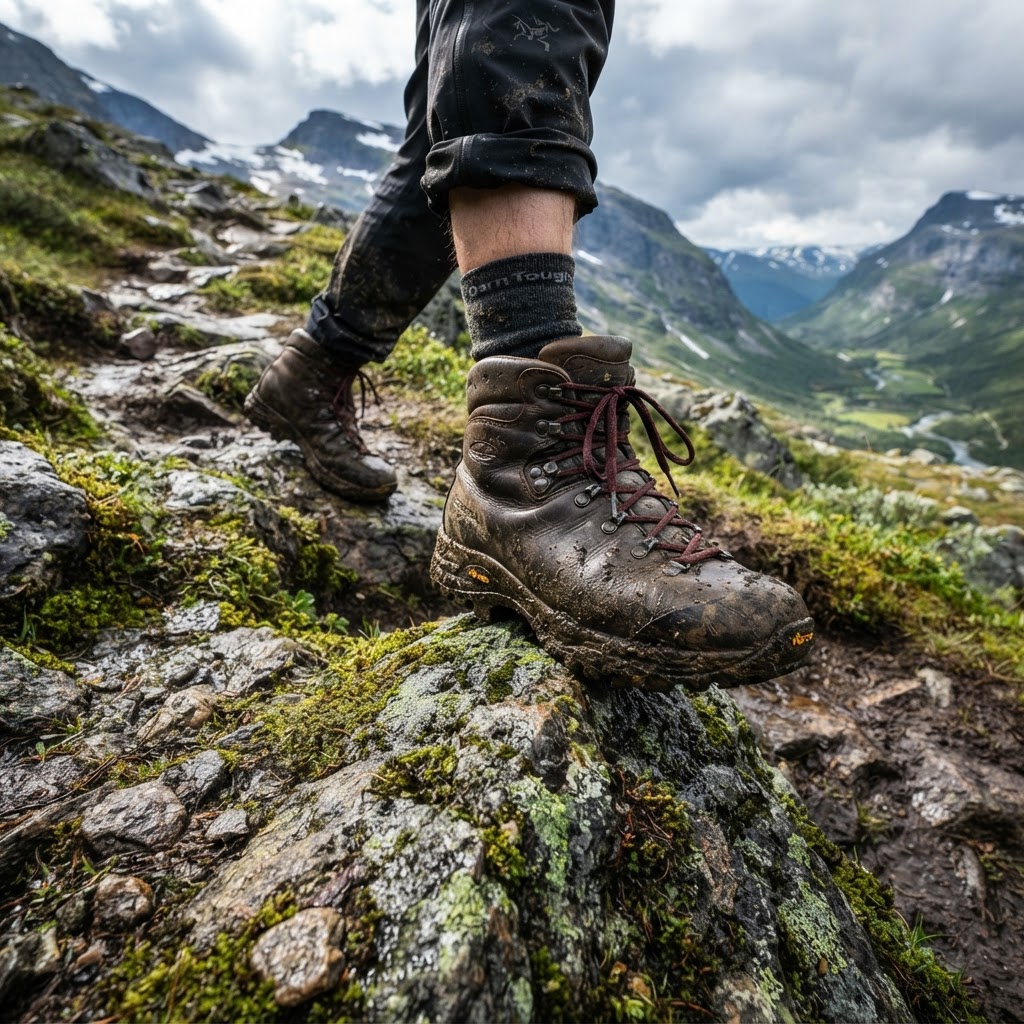
Cotton is strictly prohibited; if it becomes wet from rain or sweat, it loses all insulating properties and can lead to hypothermia even in summer. Footwear is equally non-negotiable; sturdy, waterproof hiking boots with aggressive lugs and excellent ankle support are mandatory. Do not attempt this trail in sneakers or trail runners, as the jagged, uneven, rocky terrain will destroy your feet and significantly increase your risk of injury. In your backpack, carry at least 2 liters of water, a high-calorie lunch, a power bank for your phone, and a physical map, as GPS batteries fail rapidly in cold mountain temperatures.
Safety and Preparation Tips
Safety is the most critical element of your Trolltunga experience, as the sheer length of the hike makes recovery from mistakes difficult. The terrain is unforgiving, and the primary safety risks include exhaustion, exposure to rapid weather changes, and getting lost when visibility drops.
First, always tell someone your exact plans and expected return time. Second, start as early as possible—ideally by 6:00 AM—to ensure you have a buffer for any unforeseen circumstances. If you find yourself struggling, notice the weather deteriorating, or feel your energy levels crashing, know your limits and turn back. Turning around is not a failure; it is a sign of a professional hiker who prioritizes their safety to ensure they can explore the outdoors for many years to come. Always stick to the designated path to protect the fragile alpine environment.
Navigating the Terrain
The trail begins at the Skjeggedal trailhead, and the first kilometer provides a significant “gatekeeper” challenge that tests your endurance immediately. This opening section features a very steep incline, often on paved or gravel service roads, which is widely considered the most grueling part of the entire journey. Once you successfully conquer this initial section, the landscape transforms into a breathtaking high-altitude plateau.
” src=”https://img.youtube.com/vi/LC2lLrrG2wg/hqdefault.jpg” style=”display:block; margin:2.5em auto; max-width:100%; height:auto;” />
Navigating this plateau requires paying close attention to the red ‘T’ markers painted on rocks throughout the route. These markers are maintained by the Norwegian Trekking Association and serve as your primary lifeline when navigating through foggy or overcast conditions. If you lose sight of these markers for more than 5–10 minutes, you have likely strayed from the path. Stop immediately, retrace your steps until you find the last ‘T’, and recalibrate. Never rely solely on social media geotags for navigation; the actual path is strictly marked to keep you away from dangerous cliffs and unstable terrain.
Practical Logistics and Transport
Logistics for Trolltunga require advanced planning, particularly regarding transportation and parking, as the trailhead is remote. Most visitors base themselves in the town of Odda, which offers the most reliable access, accommodations, and shuttle services to the Skjeggedal area.
If you choose to drive, you must pre-book your parking spot online, as spaces at P3 are extremely limited. The parking fees are essential for trail maintenance, search-and-rescue operations, and path signage. If you don’t secure a spot at P3, you must use the local shuttle bus system from Odda, which connects to the trailhead. Avoid the temptation to park on the roadside or in non-designated areas, as fines are strictly enforced and the roads are narrow and dangerous. Always verify the shuttle schedule the day before your hike to ensure you have a ride back to your accommodation.
Reaching the Iconic Rock Formation
Reaching Trolltunga is a triumphant moment that validates the 8+ hours of physical exertion, offering a view over the Ringedalsvatnet lake that few other places on earth can replicate. When you finally arrive at the rock, remember that you are likely sharing the space with dozens of other hikers who have also put in the work to get there.
There is almost always a queue to walk out onto the tongue for a photo; be patient and respectful of your fellow adventurers. When your turn comes, walk out slowly and be mindful of your footing, as the rock is exposed and the drop is sheer. After you have captured your memory, step back and spend time sitting on the surrounding cliffs. The silence of the fjord landscape and the sheer scale of the mountains are best enjoyed without a camera in hand. Take a moment to breathe, hydrate, and prepare for the long hike back, knowing that the journey home often takes just as long as the journey up.
FAQ
Q: Do I need a guide to hike to Trolltunga?
A: You do not technically need a guide, but hiring one is recommended if you are an inexperienced hiker or if you plan to visit in the shoulder season when snow is still present. Guides provide essential safety equipment and expertise that can prevent life-threatening navigation errors.
Q: Can I hike Trolltunga in one day?
A: Yes, most people complete the hike in a single day, typically taking between 8 to 12 hours. It requires high physical fitness, a very early start to ensure you return before dark, and the ability to maintain a consistent pace throughout the entire 20-28 kilometer distance.
Q: Is there a fee to hike to Trolltunga?
A: While there is no “entry fee” for the mountain itself, you must pay for parking at the trailhead or for the shuttle bus from Odda. Parking at the P3 lot is the most expensive and limited option, but it saves you several kilometers of steep climbing compared to lower lots.
Q: What is the most dangerous part of the hike?
A: The most dangerous parts of the hike are the unpredictable weather shifts and the fatigue that sets in during the return journey. Many accidents occur when hikers become exhausted, lose concentration, or underestimate how quickly the temperature drops, leading to slips or disorientation on the rugged, rocky terrain.
Q: Can I bring my dog on the Trolltunga hike?
A: Yes, dogs are allowed on the trail, but they must be kept on a leash at all times to protect local wildlife and respect other hikers. Ensure your dog is fit enough for a 20+ kilometer trek and that they have plenty of water, as mountain streams can sometimes be contaminated.
Leave a Reply