
Rome’s Colosseum at Blue Hour: A Magical Photography Guide
To capture the perfect blue hour photograph of Rome’s Colosseum, arrive at the Via dei Fori Imperiali or Colle Oppio 30 minutes before sunset with a sturdy tripod and a wide-angle lens. You will achieve the best results by shooting during the 20 to 40-minute window of twilight when artificial exterior lights highlight the ancient travertine arches.
The Magic of Blue Hour in Rome
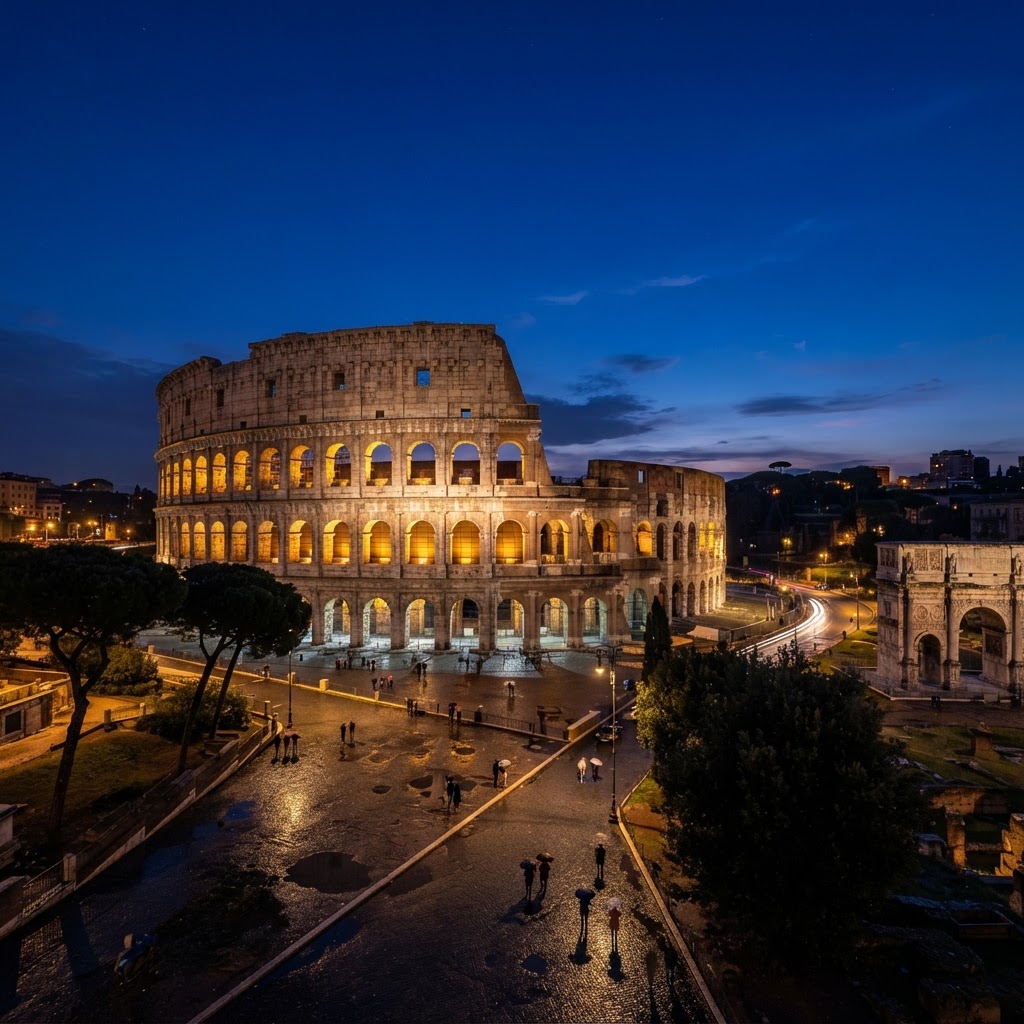
Blue hour is the optimal time for architectural photography because the sun sits below the horizon, creating a diffused, even light that prevents the harsh shadows common during mid-day. In Rome, the specific cooling effect of the twilight sky creates a striking color temperature contrast against the city’s warm-toned, honey-colored travertine stone. Unlike the golden hour, which provides directional light, the blue hour offers a soft, wrap-around illumination that enhances the intricate architectural details of the amphitheater without washing them out. This fleeting period is scientifically defined by the scattering of sunlight in the upper atmosphere, which leaves behind a rich, indigo hue that makes the Colosseum’s floodlit arches appear to glow. Photographers prefer this window because the balanced light levels allow for longer exposures, effectively smoothing out the chaotic movement of Roman traffic into artistic light streaks. By capturing the monument at this precise moment, you preserve the visual history of the Flavian Amphitheater while framing it within the sophisticated, moody aesthetic of an Italian evening.
Timing Your Visit for the Perfect Shot
Successful blue hour photography requires strict adherence to seasonal schedules, as the light window is highly variable throughout the year. The blue hour typically lasts between 20 and 40 minutes, but its arrival is dictated by your exact date of travel, making apps like PhotoPills or The Photographer’s Ephemeris essential for planning. During the summer months, the sun sets late, often pushing the blue hour start time past 9:00 PM; this is ideal for photographers because it coincides with a slight thinning of tourist crowds around the Piazza del Colosseo. Conversely, winter visitors face a tighter constraint, as the light window often begins shortly after 5:00 PM. While the shorter winter days allow for a quicker return to dinner, the temperature drops rapidly, which can impact camera battery performance. To maximize your success, always aim to arrive at your chosen vantage point at least 45 minutes before the calculated sunset time. This provides you a buffer to secure your tripod position, test your composition, and allow your camera settings to stabilize before the sky turns its deepest shade of blue.
Finding the Best Vantage Points
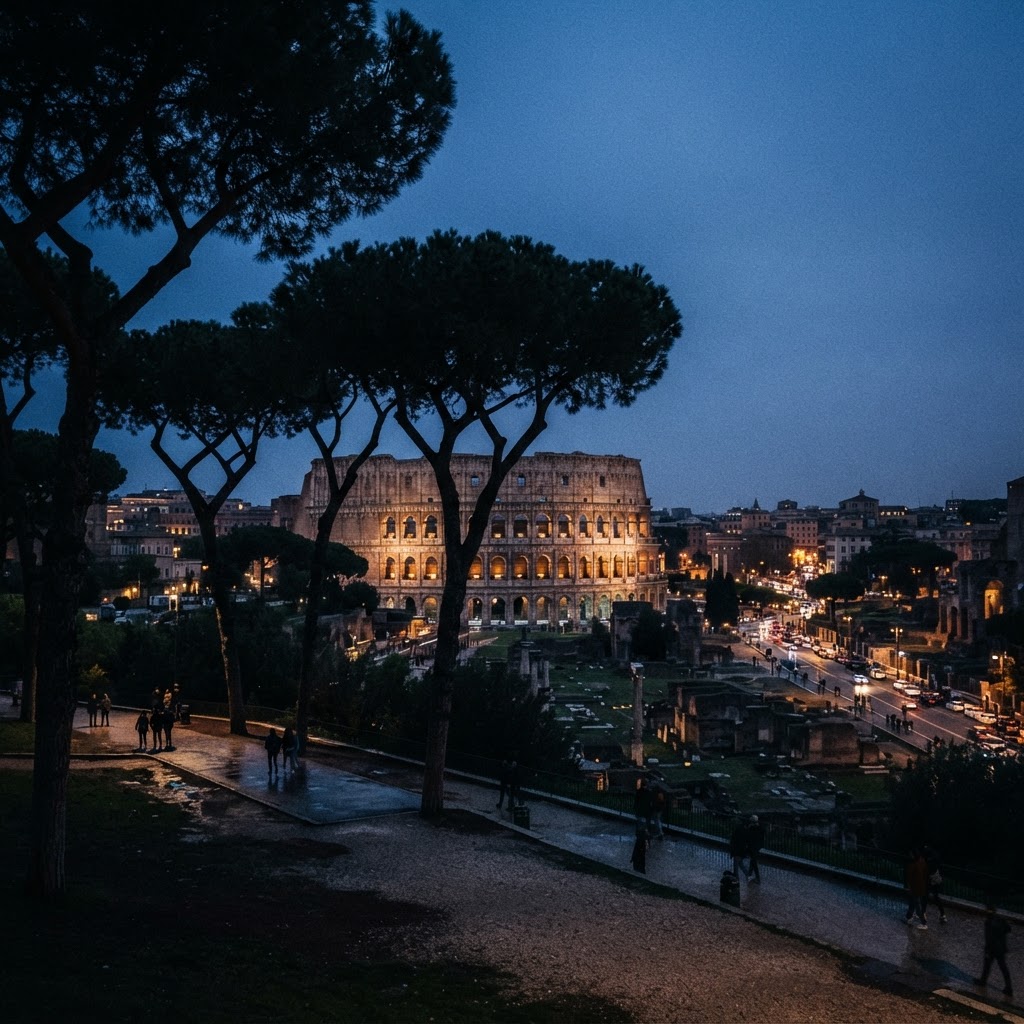
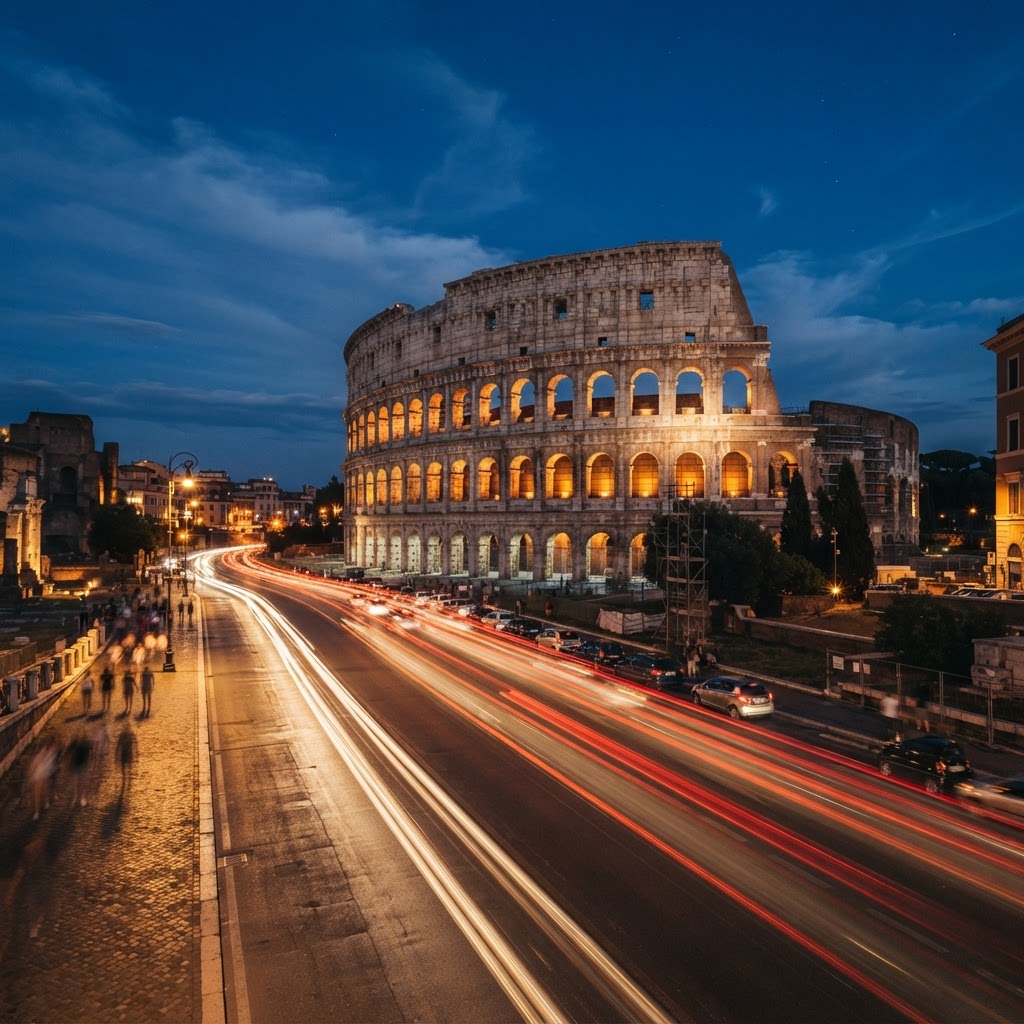
Choosing the right vantage point is the most critical decision for composition, with two primary locations offering vastly different perspectives of the Colosseum. The Via dei Fori Imperiali is the premier choice for a symmetrical, grand-scale image that emphasizes the sheer height of the amphitheater’s outer facade. From this street-level vantage, you can incorporate the foreground road into your frame, allowing for light trails from passing taxis and buses to lead the eye toward the center of the monument. For a more layered and dimensional composition, head to the elevated Colle Oppio park. By positioning yourself here, you look down upon the Colosseum, enabling you to frame the ruins with the silhouettes of umbrella pines or the archaeological remains of Nero’s Domus Aurea. This elevated angle provides a sense of environmental scale, showing the Colosseum’s relationship with the surrounding Roman landscape. While both locations are popular, scouting them during the daylight hours is recommended to avoid tripping over uneven terrain when walking back to safety in the dark.
Essential Gear for Low-Light Photography
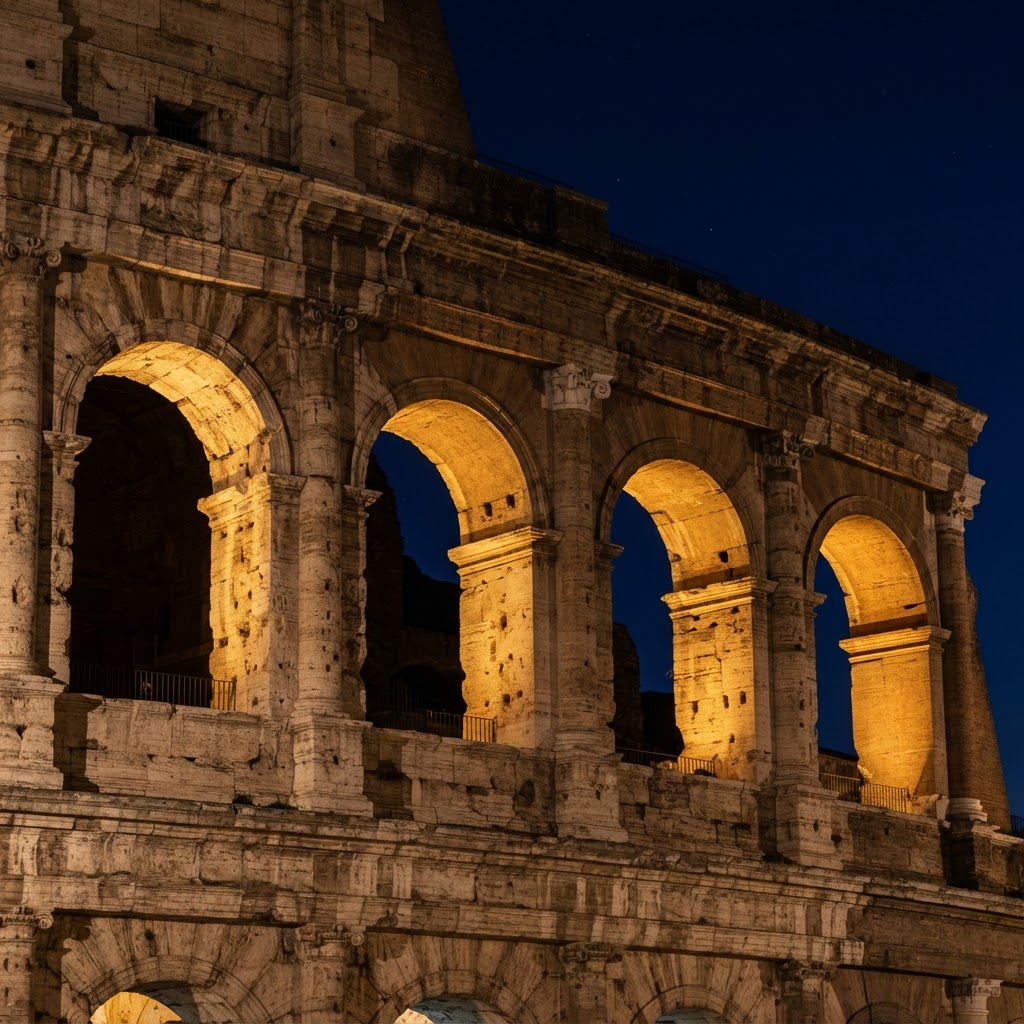
Capturing crisp, noise-free images of the Colosseum in low light demands a specialized kit focused on stabilization and optical clarity. Because blue hour exposures can last anywhere from 5 to 30 seconds, a sturdy carbon-fiber or aluminum tripod is non-negotiable; any handheld shot at these speeds will result in significant camera shake. To achieve professional results, eliminate physical contact with the camera by using a remote shutter release or the built-in 2-second timer, which prevents the vibration caused by the physical press of the shutter button. Wide-angle lenses, typically in the 16mm to 35mm range on a full-frame sensor, are ideal for fitting the massive structure within the frame without needing to stand dangerously far back. Furthermore, always carry a dedicated lens cloth, as the cooling air during blue hour can lead to condensation on your front element. Investing in a circular polarizer can also help remove glare from modern glass or wet streets, though it should be removed once the light becomes too dim to maintain a reasonable shutter speed.
Mastering Long Exposure Techniques
Long exposure photography transforms a static architectural shot into a dynamic masterpiece by capturing the motion of the living city against the permanence of the ancient stone. To master this technique, you must balance your exposure triangle to favor image quality: keep your ISO at the lowest native setting (ISO 100 or 64) to prevent digital noise, and set your aperture between f/8 and f/11 to maintain a deep depth of field across the entire structure. Shutter speed should be the final variable, adjusted to accommodate the ambient light level; a 10 to 20-second exposure is usually the “sweet spot” for capturing elegant, flowing light trails from moving traffic. When experimenting with longer exposures, consider how the light trails interact with the frame—diagonal streaks leading into the center of the Colosseum generally create the strongest visual impact. If your exposure time results in a photo that is too bright or too dark, use your camera’s histogram to ensure you are not clipping the shadows or blowing out the highlights of the floodlit arches. This methodical approach ensures your final image retains the deep indigo of the sky while keeping the Colosseum’s stone detail sharp and clear.
Safety and Practical Tips for Night Shooters
Practical night photography in Rome requires a blend of situational awareness and hardware management to keep your equipment and yourself secure. While the area surrounding the Colosseum is highly policed and generally safe, it remains a hot spot for pickpockets who target distracted tourists; always wear your camera bag cross-body and keep zippers facing your chest. Never leave your tripod unattended while scouting an angle, even for a few seconds, as a tripod is often the first item targeted by opportunists. From a technical standpoint, carry at least two fully charged spare batteries, as the chemical reactions in lithium-ion cells slow down in the evening cool, causing them to deplete significantly faster than during the day. Additionally, be prepared for the unpredictability of the monument’s exterior lighting, which can vary based on local energy conservation or event schedules. Patience is required, as the best photo opportunity may only last for five minutes when the floodlights and the twilight sky reach a perfect, balanced exposure.
Understanding the Historical Context
Reflecting on the history of the Colosseum during your shoot adds a profound layer of depth to your artistic process. Completed in 80 AD under the Emperor Titus, the Flavian Amphitheater stands as the largest ancient amphitheater ever built, formerly hosting up to 50,000 spectators for gladiatorial combat, animal hunts, and public executions. This architectural wonder has survived nearly 2,000 years of environmental decay, medieval pillaging for stone, and massive earthquakes that caused the partial collapse of the southern outer wall. When you frame your shot at blue hour, you are not just capturing a building; you are documenting the contrast between the eternal, weathered limestone and the transient modern life that circles its foundation every day. By acknowledging the brutal and fascinating past of the structure, your photography evolves from simple architectural documentation into a narrative piece that honors the resilience of Roman engineering and the passage of time.
FAQ
Q: What is the best time of year for Colosseum blue hour photography?
Autumn and spring are the best seasons, offering manageable temperatures and sunset times that occur between 7:00 PM and 8:00 PM. This timing is ideal for travelers as it balances sufficient light for setup with manageable pedestrian traffic around the monument.
Q: Do I need a permit to photograph the Colosseum with a tripod?
No, you do not need a permit for casual photography with a tripod on public sidewalks like Via dei Fori Imperiali. However, ensure you do not block pedestrian thoroughfares, as local police may ask you to move for safety reasons.
Q: How long does the blue hour last in Rome?
The blue hour in Rome typically lasts between 20 and 40 minutes depending on atmospheric conditions and time of year. It begins immediately after the sun drops below the horizon and ends when the sky transitions into deep, black night.
Q: Can I use a smartphone to photograph the Colosseum at blue hour?
Yes, modern smartphones with Night Mode or Pro/Manual settings can capture excellent results. Use a small smartphone tripod or a flat surface to keep the device steady during long exposures, and manually lower your exposure compensation to maintain the deep blue sky colors.
Q: Why is my blue hour photo coming out blurry?
Blurry photos at night are almost always caused by camera shake during a long exposure without a tripod. Ensure your camera is mounted on a sturdy tripod, use a remote trigger or 2-second timer, and turn off your lens’s image stabilization if you are using a tripod.
Leave a Reply